Setting up Auth0 as an Identity Provider
Follow the steps below to set up Auth0 as an Identity Provider.
Create an M2M Application
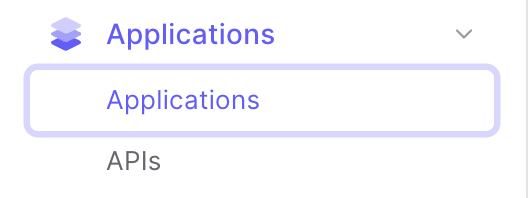
In order for Aserto to communicate with Auth0, you'll need an M2M application set up in Auth0. To create one, open your Auth0 console, and navigate to “Applications”.
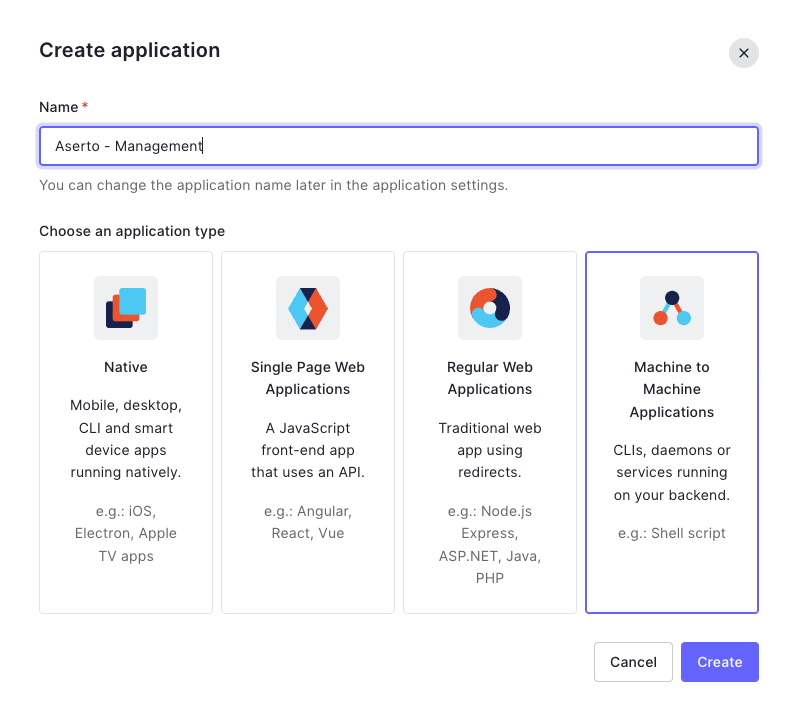
Create a new Machine-to-Machine application by clicking the "Create Application" button.

In the following screen, name the application "Aserto - Management" and select "Machine to Machine Applications".
The application type MUST be "Machine to Machine Applications".
Next, select the Auth0 Management API and enable the read:users permission.
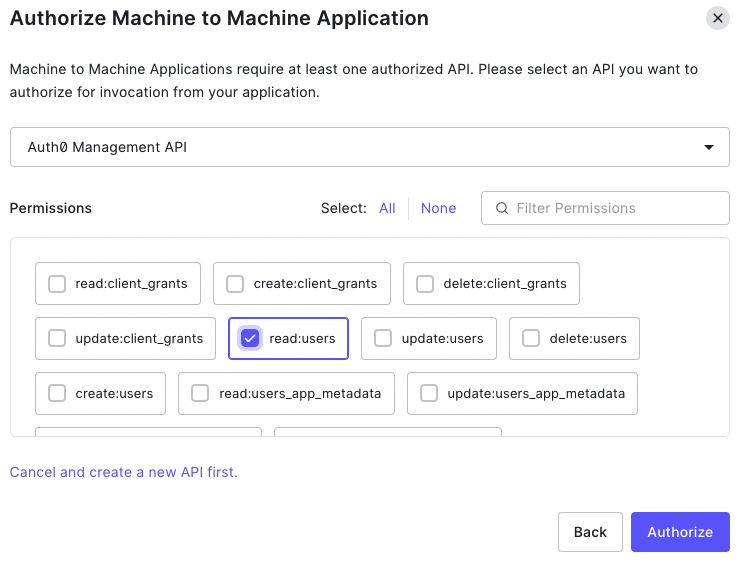
If you'd like to use the aserto-idp CLI tool to import users into Auth0, you'll also need to select the permissions read:connections and create:users. If you'd also like to delete users using the aserto-idp CLI you'll need the delete:users permission as well.
Connect Auth0 to Aserto
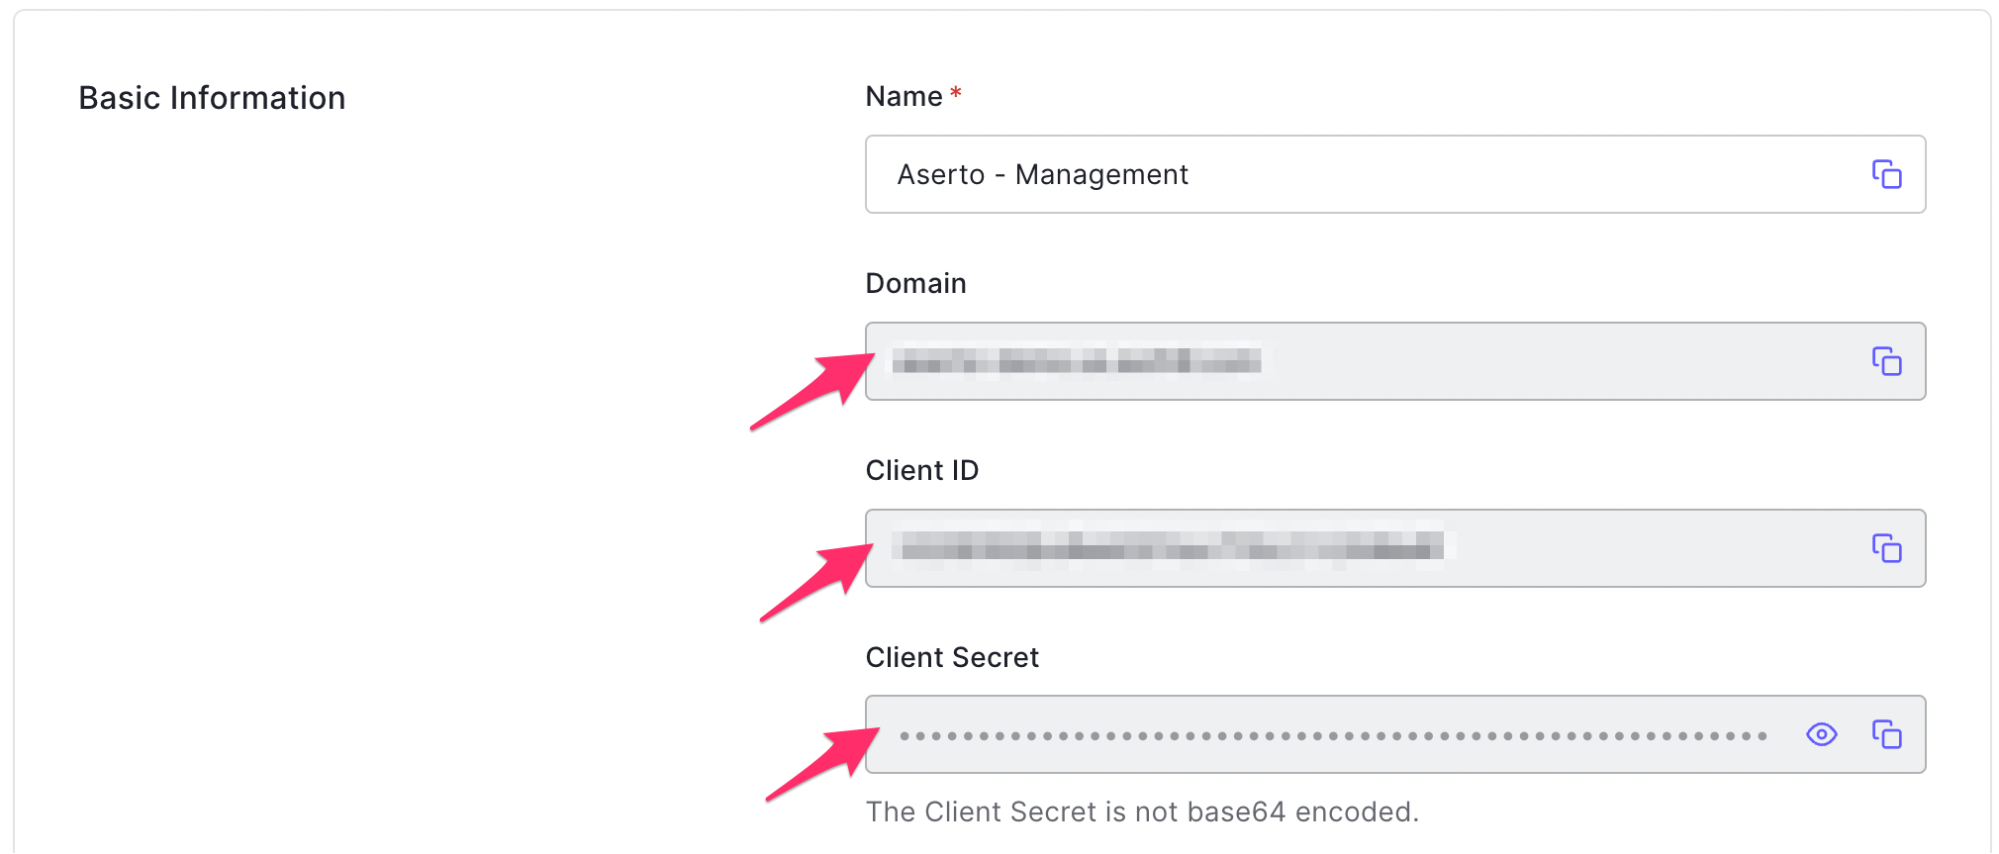
From the settings tab, retrieve the Domain, Client ID and Client Secret used by this application. We will use them shortly when we add Auth0 to Aserto.
Create an Auth0 connection
Next, connect Auth0 to Aserto as an identity provider. Head to the Aserto console and open the Connections tab.

In the Connections tab, click the "Add a Connection" button. In the following screen, use the "auth0" provider. Name the connection “auth0” and use the display name "Auth0". Then, paste the Domain, Client ID, and Client Secret you retrieved from the Auth0 M2M application settings into their corresponding fields.
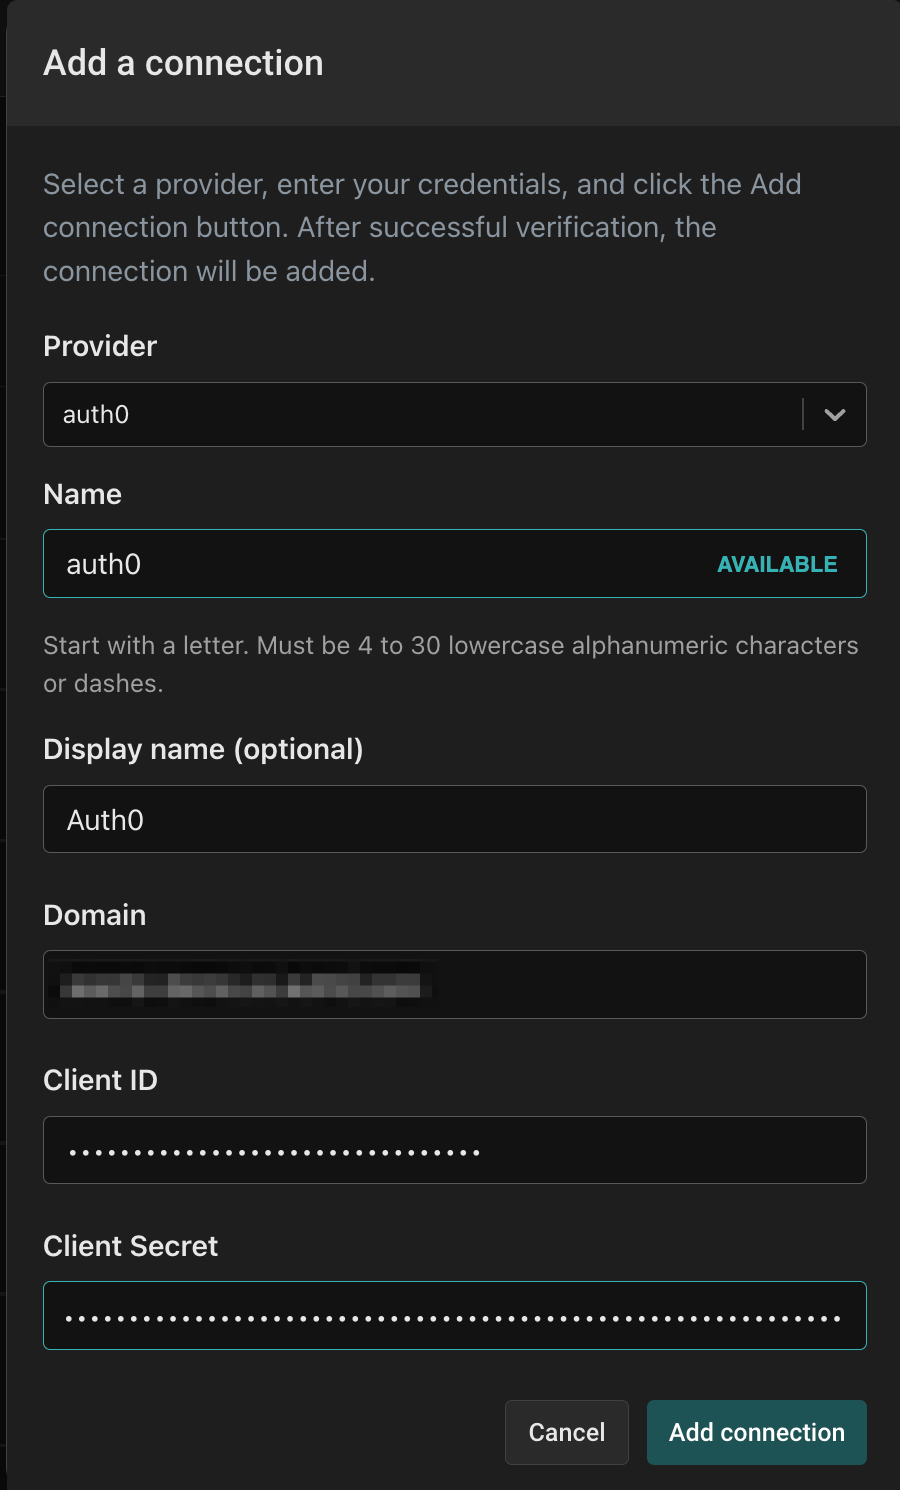
Finally, click the "Add connection" button to save the connection. Aserto will now automatically sync your Auth0 users to the Aserto directory.