React Application setup
If you'd like to skip to the end, rather than follow the steps, simply clone the demo repo.
git clone git@github.com:aserto-demo/aserto-react-and-node-with-conditional-rendering.git
cd aserto-react-and-node-with-conditional-rendering
yarn install:all
From here, make sure you consult the README. Specifically, you also need to instantiate an Aserto policy before you can run yarn start:all to run the app. To do that, skip to this step.
We’re going to build a very bare bones application for this tutorial. We’ll start by creating an application using the yarn react-app generator: In your terminal, execute the following command:
yarn create react-app aserto-react-demo
You can now cd into the newly created folder and start the app:
cd aserto-react-demo
yarn start
The familiar React logo should appear, indicating that the app is ready to go.
Downgrade to React 17
The OIDC dependencies aren't yet working with React 18, so we'll need to downgrade.
yarn add react@17 react-dom@17 @testing-library/react@12 @types/react@17 @types/react-dom@17
You'll also need to change index.js to the following:
Change the line import { createRoot } from 'react-dom/client'; to the following:
import ReactDOM from 'react-dom';
Next, change this block:
const container = document.getElementById('root')
const root = createRoot(container)
root.render(
  <React.StrictMode>
    <App />
  </React.StrictMode>
);
to the following:
ReactDOM.render(
  <React.StrictMode>
    <App />
  </React.StrictMode>,
  document.getElementById('root')
);
Make sure the app still loads and shows the spinning React logo.
We are now back to React v17.0.2 and can proceed to add authentication and authorization.
Adding OIDC dependencies
Now that we have a running React application, we'll continue by installing and then importing the required dependency - oidc-react
In your terminal, execute the following command:
yarn add oidc-react@1.5.1
The following environment variables are used to point your application to Aserto’s demo IDP, so that you don’t have to set one yourself. Create a file called .env and add the following:
REACT_APP_OIDC_DOMAIN=acmecorp.demo.aserto.com
REACT_APP_OIDC_CLIENT_ID=acmecorp-app
REACT_APP_OIDC_AUDIENCE=acmecorp-app
REACT_APP_API_ORIGIN=http://localhost:8080
Make sure the .env file is added to the .gitignore file so that it is not checked in.
Open the file src/index.js and add the dependency:
import { AuthProvider } from 'oidc-react'
Add the following configuration object:
const configuration = {
  authority: `https://${process.env.REACT_APP_OIDC_DOMAIN}/dex`,
  clientId: process.env.REACT_APP_OIDC_CLIENT_ID,
  autoSignIn: true,
  responseType: 'id_token',
  scope: 'openid profile email',
  redirectUri: window.location.origin,
  audience: process.env.REACT_APP_OIDC_AUDIENCE,
  onSignIn: () => {
    window.location.replace(window.location.origin)
  },
}
Next, we'll wrap the top level React Application component with the AuthProvider, and pass it the required configuration we created.
ReactDOM.render(
  <React.StrictMode>
    <AuthProvider {...configuration}>
      <App />
    </AuthProvider>
  </React.StrictMode>,
  document.getElementById('root')
)
When developing locally, make sure your application is running on port 3000 - other ports are not registered with the identify provider and will not work.
If your application is still running, you should see the following login window:
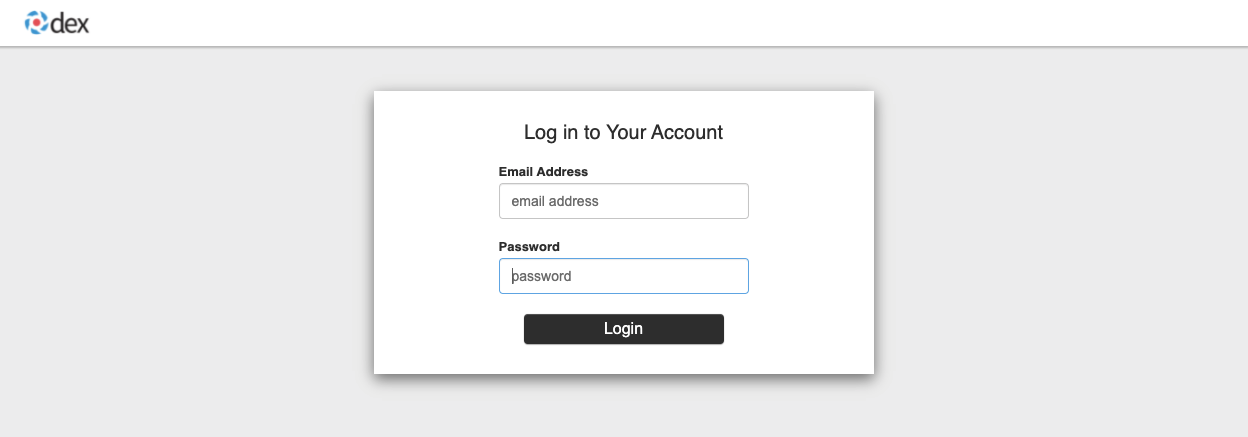
Use the following user credentials to log in:
Email address: euang@acmecorp.com
Password: V@erySecre#t123!
After logging in, you should see the React logo again.
Add a stylesheet
We've created a stylesheet for this app that you can reference in your index.html file in the public folder. in the <head> section, add the following:
<link
  rel="stylesheet"
  href="https://aserto-remote-css.netlify.app/react-and-node-quickstart.css"
/>
Next, we’ll build the app itself. Open the App.js file, and replace it’s contents with:
import React, { useEffect } from 'react'
import { useAuth } from 'oidc-react'

function App() {
  const auth = useAuth()
  const isAuthenticated = auth.userData?.id_token ? true : false

  //If the user logs out, redirect them to the login page
  useEffect(() => {
    if (!auth.isLoading && !isAuthenticated) {
      auth.signIn()
    }
  })

  return (
    <div className="container">
      <div className="header">
        <div className="logo-container">
          <div className="logo"></div>
          <div className="brand-name"></div>
        </div>
      </div>

      <div className="user-controls">
        {isAuthenticated && (
          <>
            <div className="user-info">{auth.userData?.profile?.email}</div>
            <div className="seperator"></div>
            <div className="auth-button">
              <div onClick={() => auth.signOut('/')}>Log Out</div>
            </div>
          </>
        )}
        {!isAuthenticated && (
          <div className="auth-button">
            <div onClick={() => auth.signIn('/')}>Login</div>
          </div>
        )}
      </div>

      <div className="main">
        {isAuthenticated && (
          <>
            <div className="top-main">
              <div className="welcome-message">
                Welcome {auth.userData?.profile?.email}!
              </div>
            </div>
          </>
        )}
      </div>
    </div>
  )
}

export default App
Test the application
Let's test our application by logging in. If it's not already running, start your application by executing:
yarn start
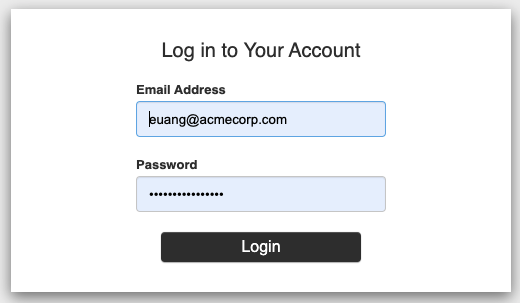
If you haven't already, log in, using the following credentials:
Email address: euang@acmecorp.com
Password: V@erySecre#t123!
If everything works as expected, the following should be displayed.
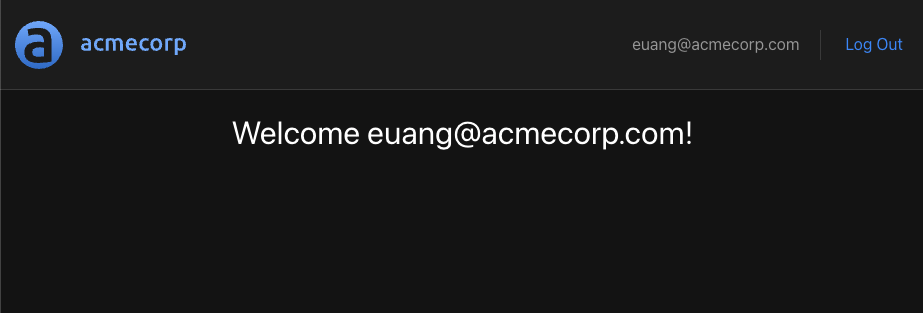
We can make sure that the application's authentication flow works by logging out and then logging back in.
Great! Our application authenticates with the Acmecorp IDP, and so we have our user's identity in hand. Next, we'll create the Express.js service which will host our protected resource and will communicate with the Aserto hosted authorizer to determine whether or not a logged in user has the permissions to access the protected resource based on the user's identity.