Todo Quickstart
The Todo Quickstart includes:
- a Todo front-end, written in React.
- a Todo back-end, implemented in a few languages.
- an interactive tutorial to learn about how the Todo policy works.
As you go through the Quickstart, you'll learn the following:
- How to write a simple authorization policy using Rego, Aserto's policy language
- How to integrate Aserto into a backend in the language of your choice
Prerequisites
To follow this Quickstart you'll need to have an Aserto account. If you do not have one, you can create one here. Once you have created your tenant, you can continue.
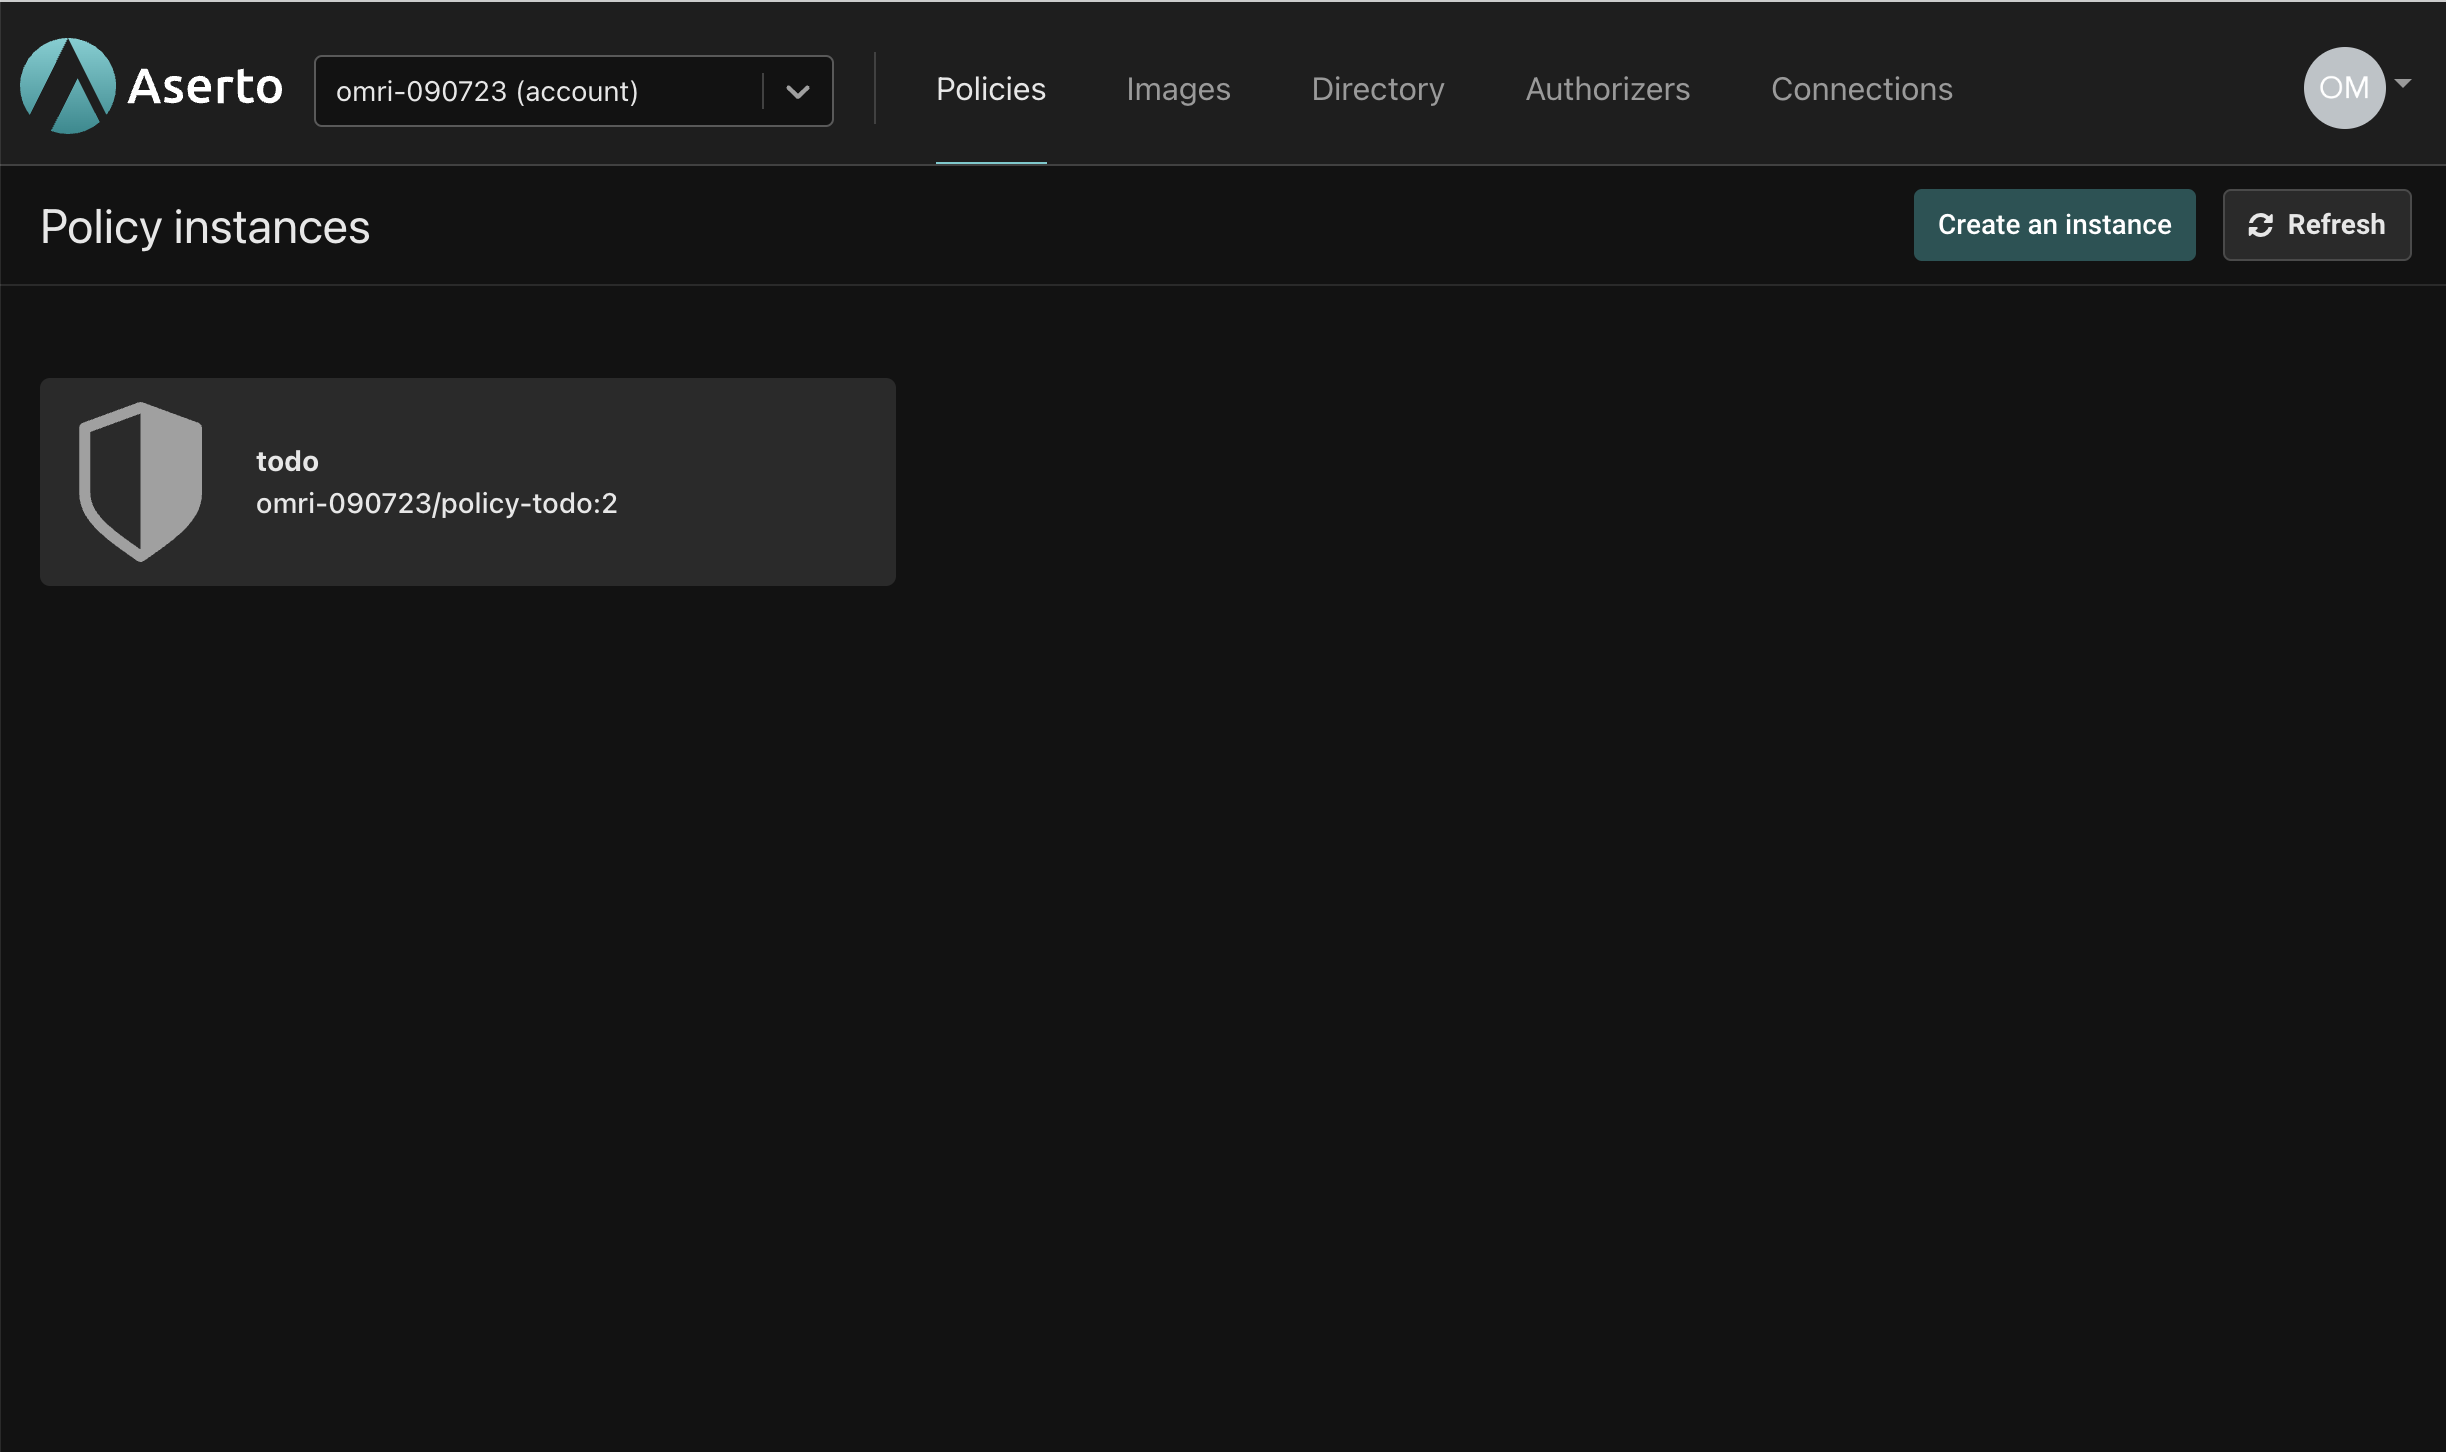
Navigate to Todo Policy Instance Details
New Aserto accounts automatically provision the Todo policy instance. In the Policies tab, click the todo policy to navigate to its details page.

This should put you in the Evaluator for the Todo policy. Go to Click the Quickstart tab for the next steps.
Or, Create the Todo Policy
If you've created a new organization, or have deleted the Todo policy, you can easily create it with the following steps:
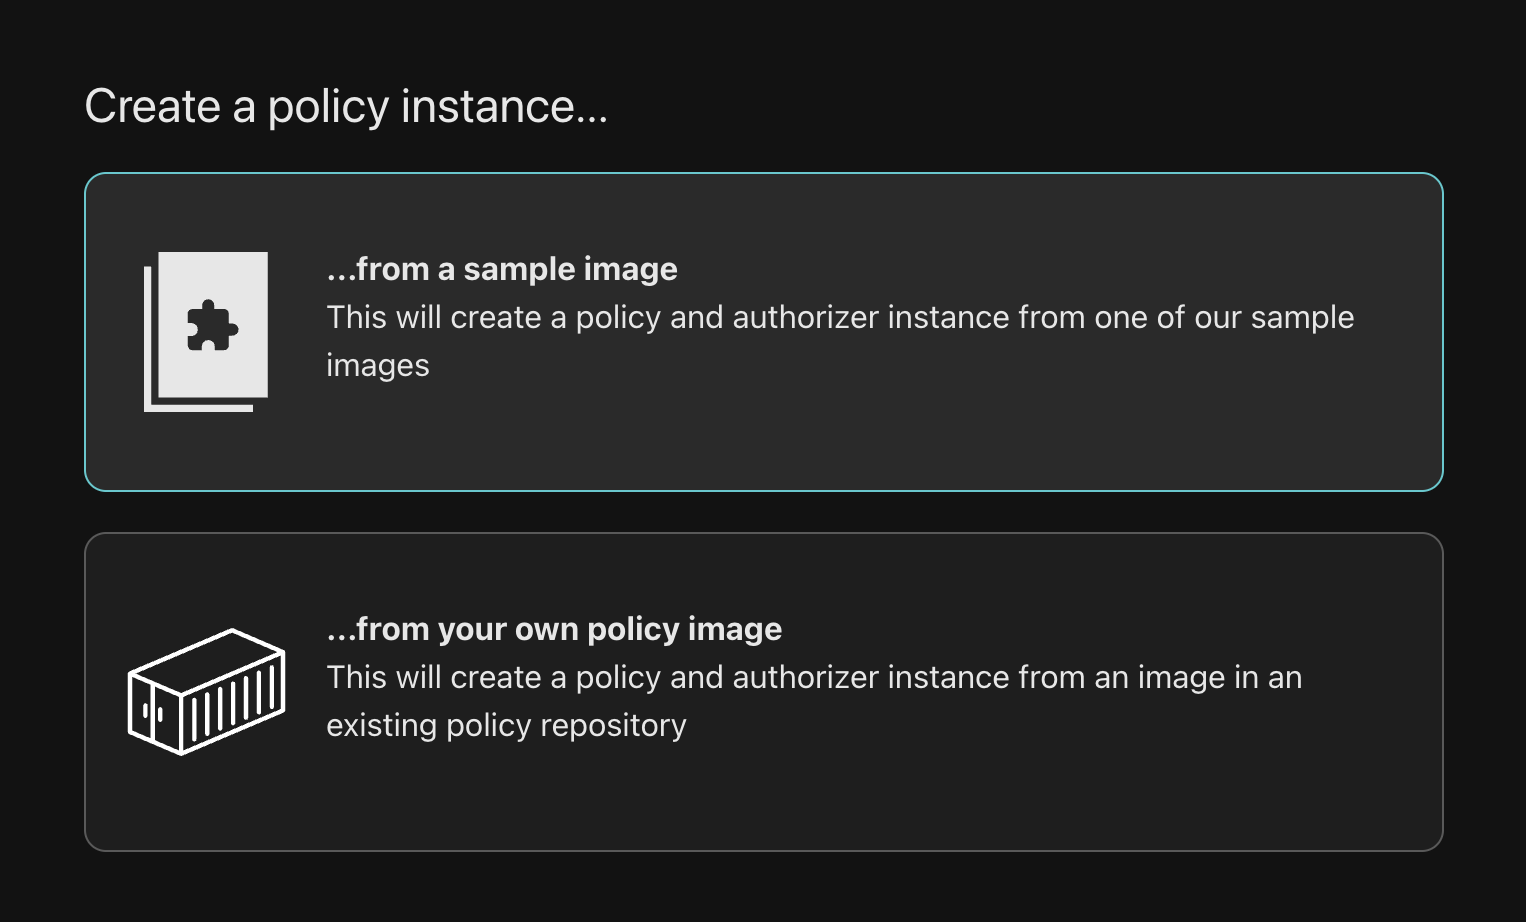
- Click the "Create an instance" button on the Policies tab (near the top right in the screenshot above).
- Select "from a sample image".

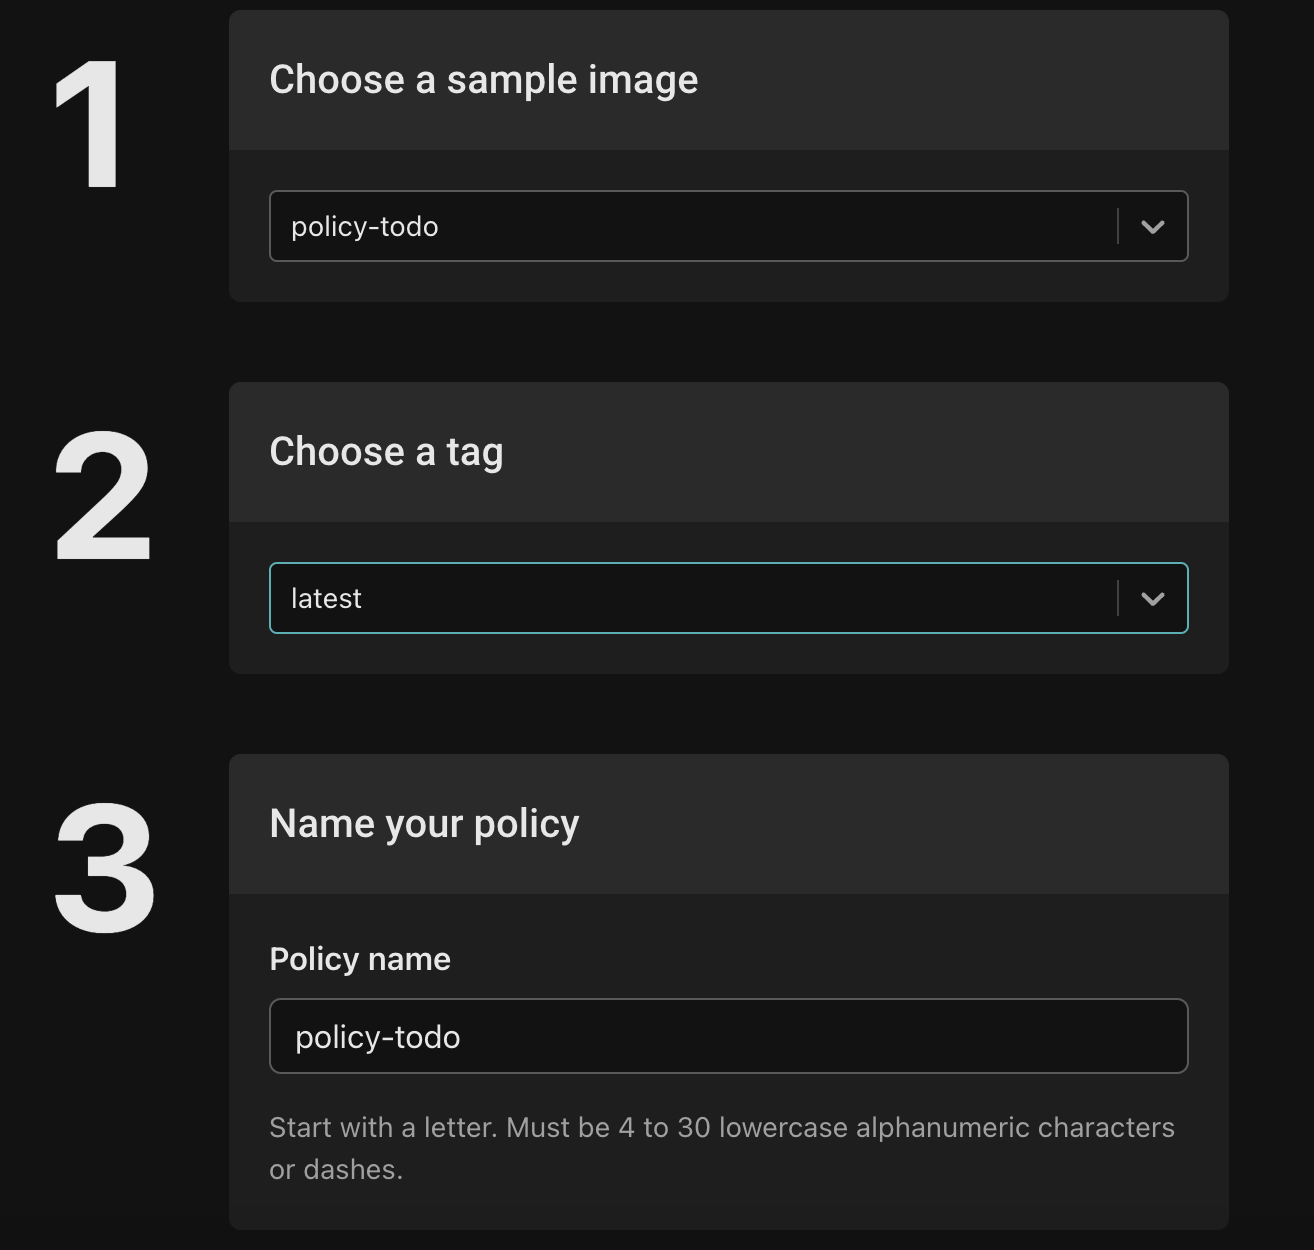
- Select
policy-todofrom the dropdown, and thelatesttag.

This should put you in the Evaluator for the Todo policy.
Click the Quickstart tab
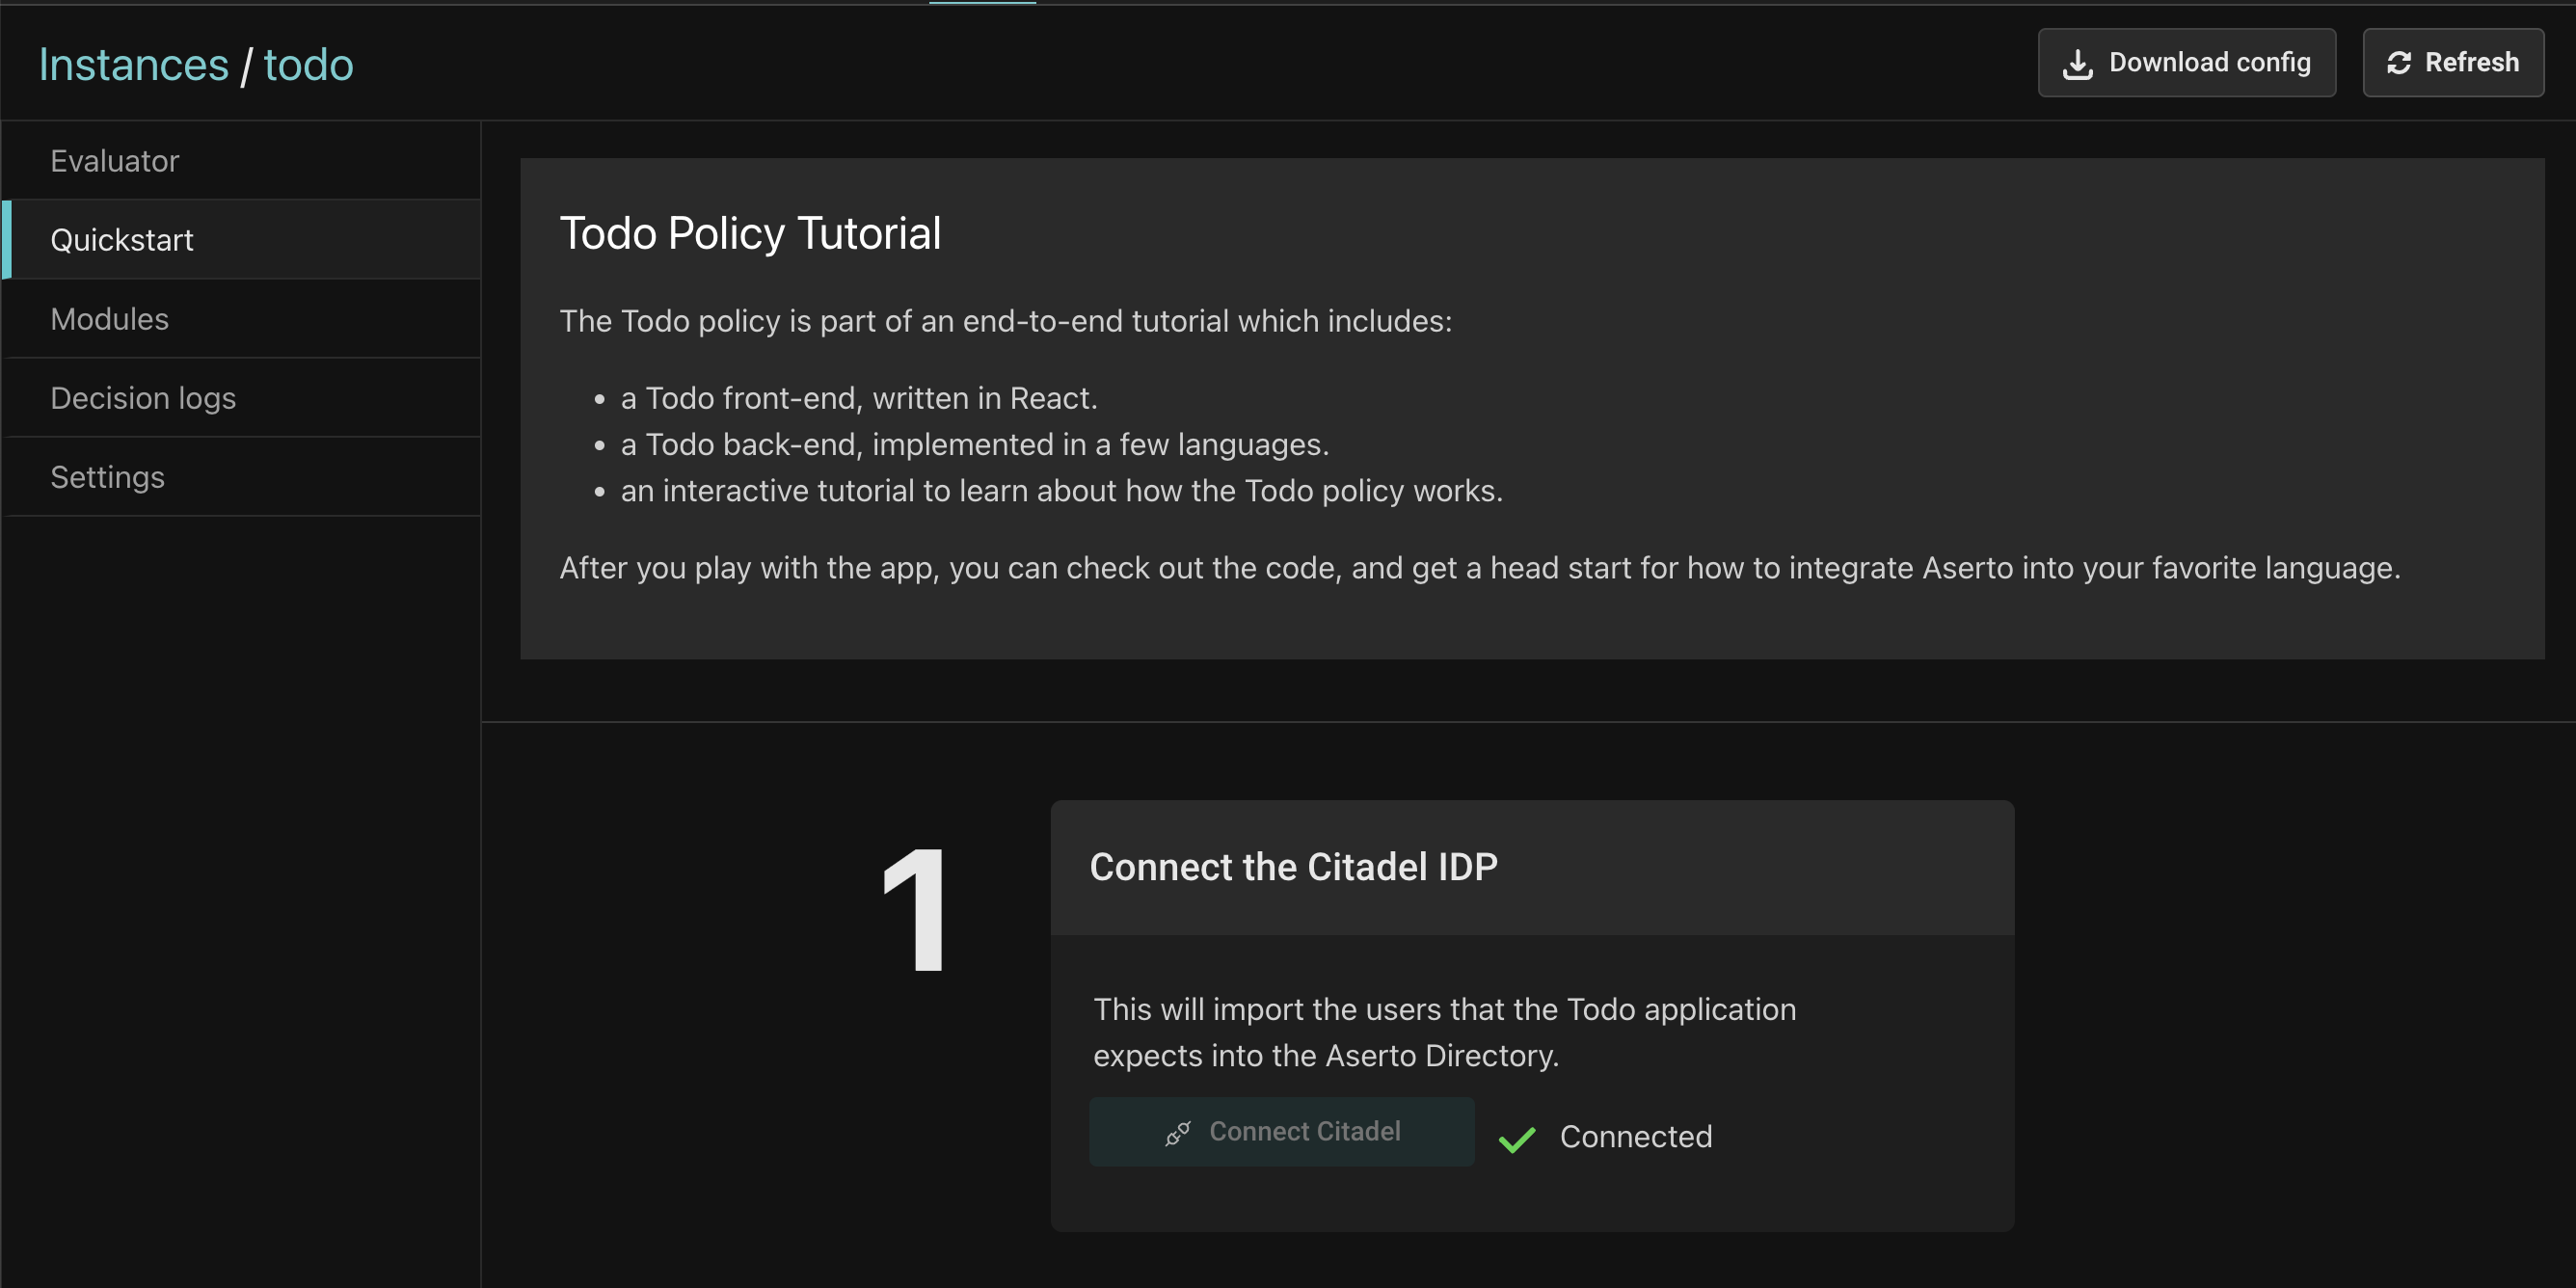
Click the Quickstart tab in the left navigation bar. This will bring up the Todo Quickstart.

Connect the Citadel IDP
The Todo application is built around a set of sample users, modeled after Rick & Morty. The Citadel identity provider (IDP) contains these users. If the Citadel IDP is not already connected, click the "Connect" button.
Next steps
Next, we'll download, install, and run the backend in the language of your choice.