Modify the Policy
So far, we were using the default RBAC policy that deploys as part of PeopleFinder, which our PeopleFinder Policy Instance is bound to. With Aserto your Policies are not static! You can modify them and re-deploy them without having to redeploy your application. You can quickly rebind to different versions of your policy, such as rolling back to an earlier release. And, you can even author a completely different Policy and bind to it. In this section you'll see how you can bind PeopleFinder to use a relationship-based access control (ReBAC) policy.
For more information, you can learn more about the Policy-As-Code Github workflow and the policy CLI here
Why ReBAC?
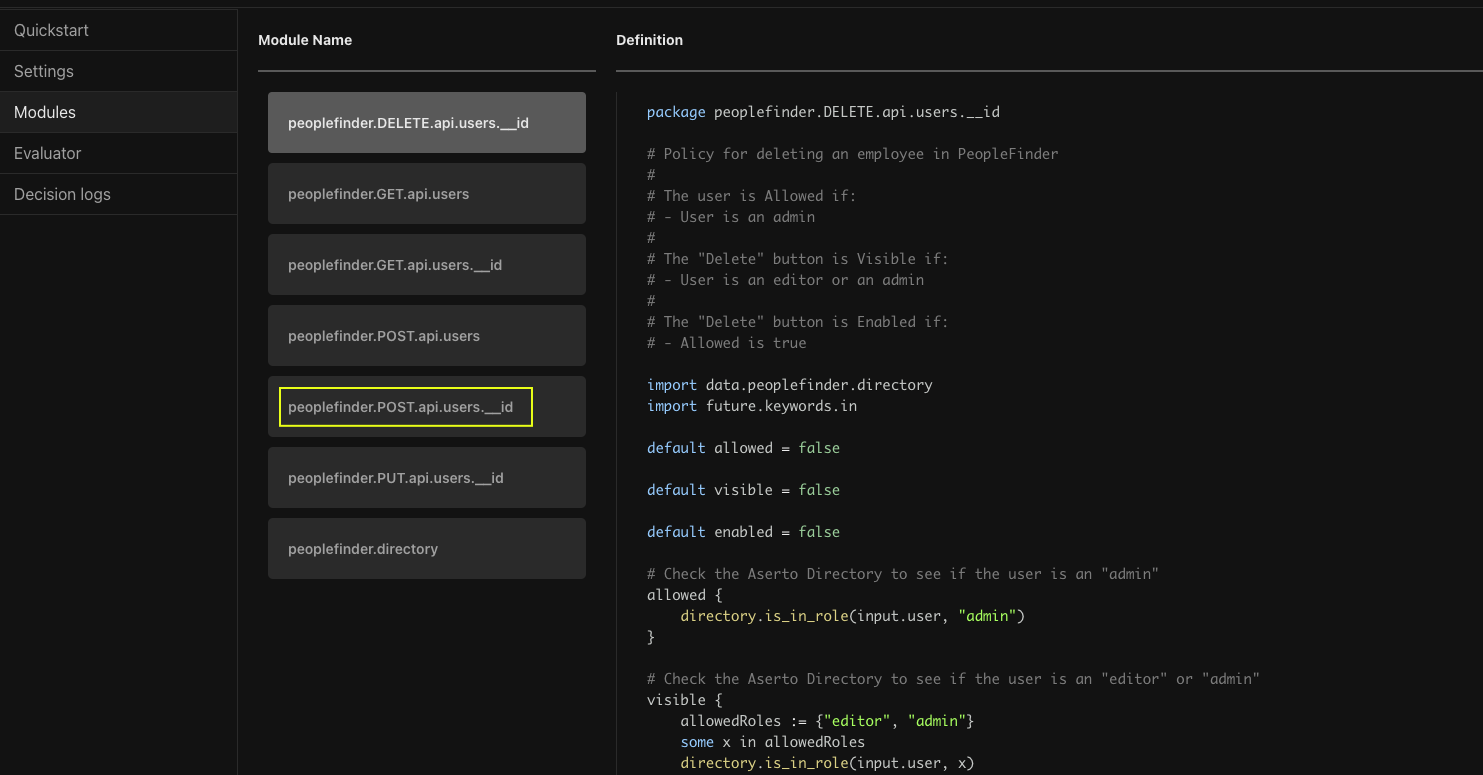
Currently our RBAC Policy is limited to looking at the Resource Context (the resource being accessed) or the Identity Context (the caller). For example as the Rego code snippet below shows, the peoplefinder.POST.api.users.__id policy looks at the user's roles property to determine if they are an admin and should be allowed to update the Department or Title properties of the employee being viewed.
# Iterate over all the user's roles and return "true" if "admin" is present
allowed {
	"admin" = user_roles[_]
}
Let's say our Product Manager has a brought a new customer requirement to allow anyone in the management chain of an employee to update that employee's Department or Title properties. How can we do it? Do we need to modify the application code and redeploy? With Aserto, you don't have to!
Using a ReBAC Policy you can use the relationships within the organization / the organizational structure as part of your decisions. When you author a ReBAC Policy in Aserto you have access to the Aserto directory right in your Rego code. It provides us an easy path to address this new requirement. We've included a ReBAC policy for PeopleFinder which you can use to see this in action.
Rebinding to a different policy
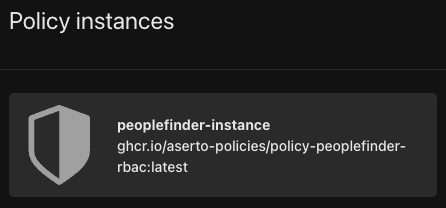
Head back to the Aserto Console and click on Policies:
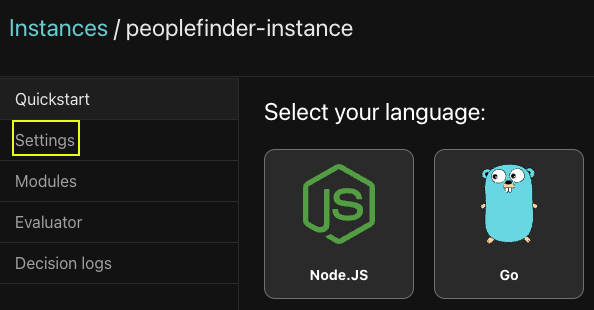
Click on the peoplefinder-instance and then select Settings:
The settings screen information is mostly read-only value that are used by your applications including various keys that you can rotate. You can also delete your Policy Instance, and you can see / edit the Policy Image.
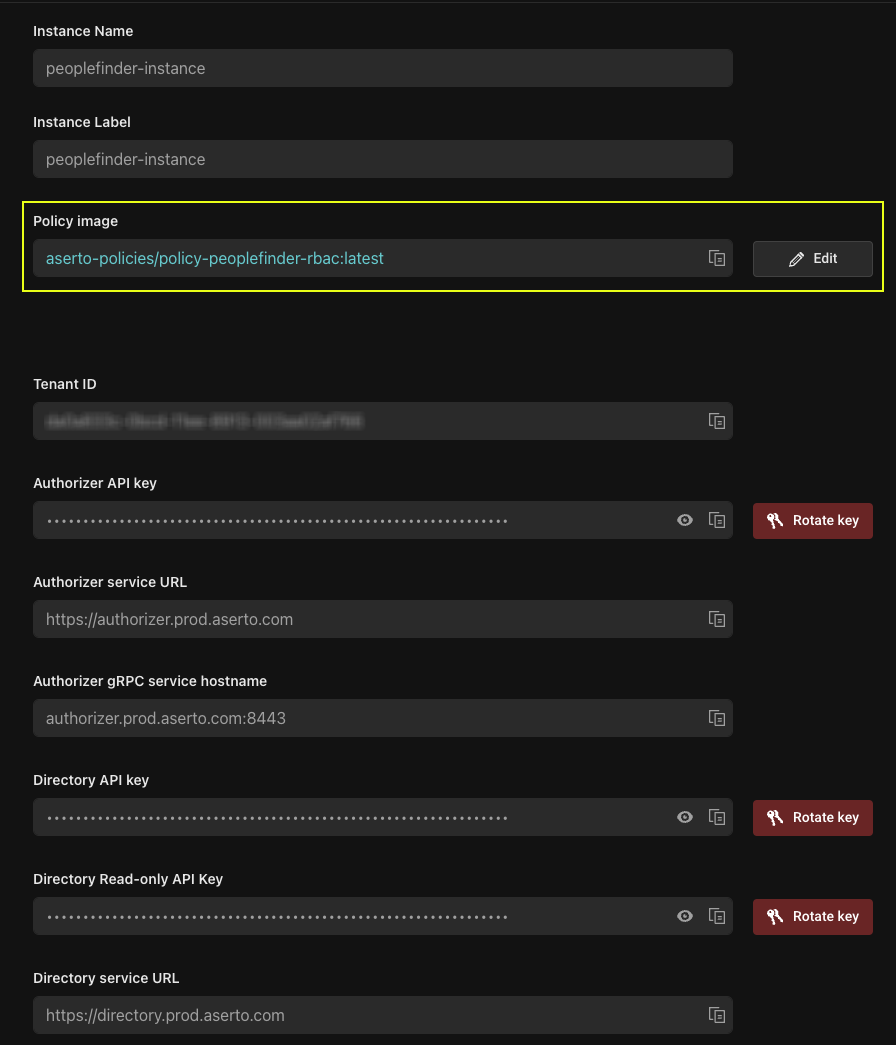
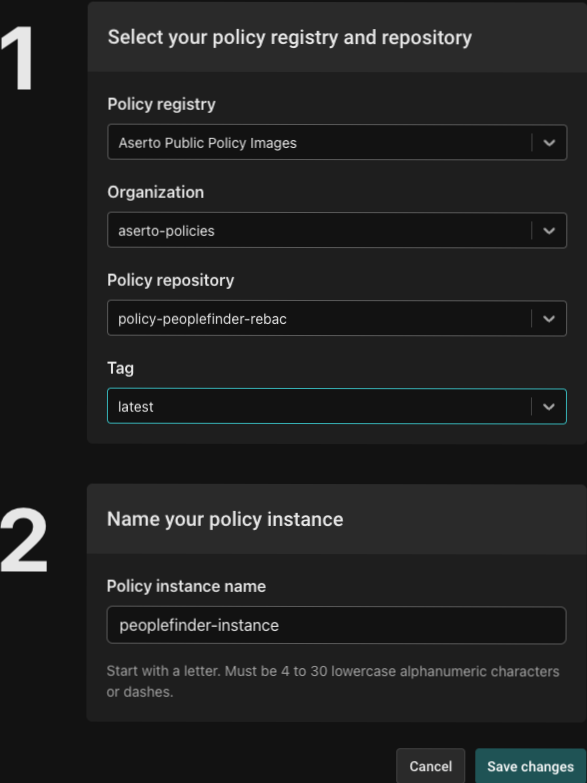
Click on Edit, this will bring up the Edit Instance screen. You can see that our instance is using Aserto's public registry, and it is bound to to the latest tag of the policy-peoplefinder-rbac image.

Let's change it. Click on the textbox of the 'Policy repository' dropdown and type rebac, you will see policy-peoplefinder-rebac displayed. Click on it to select it. Next set Tag to latest.
Click Save changes and you will be brought back to the peoplefinder-instance page. Click on Modules.
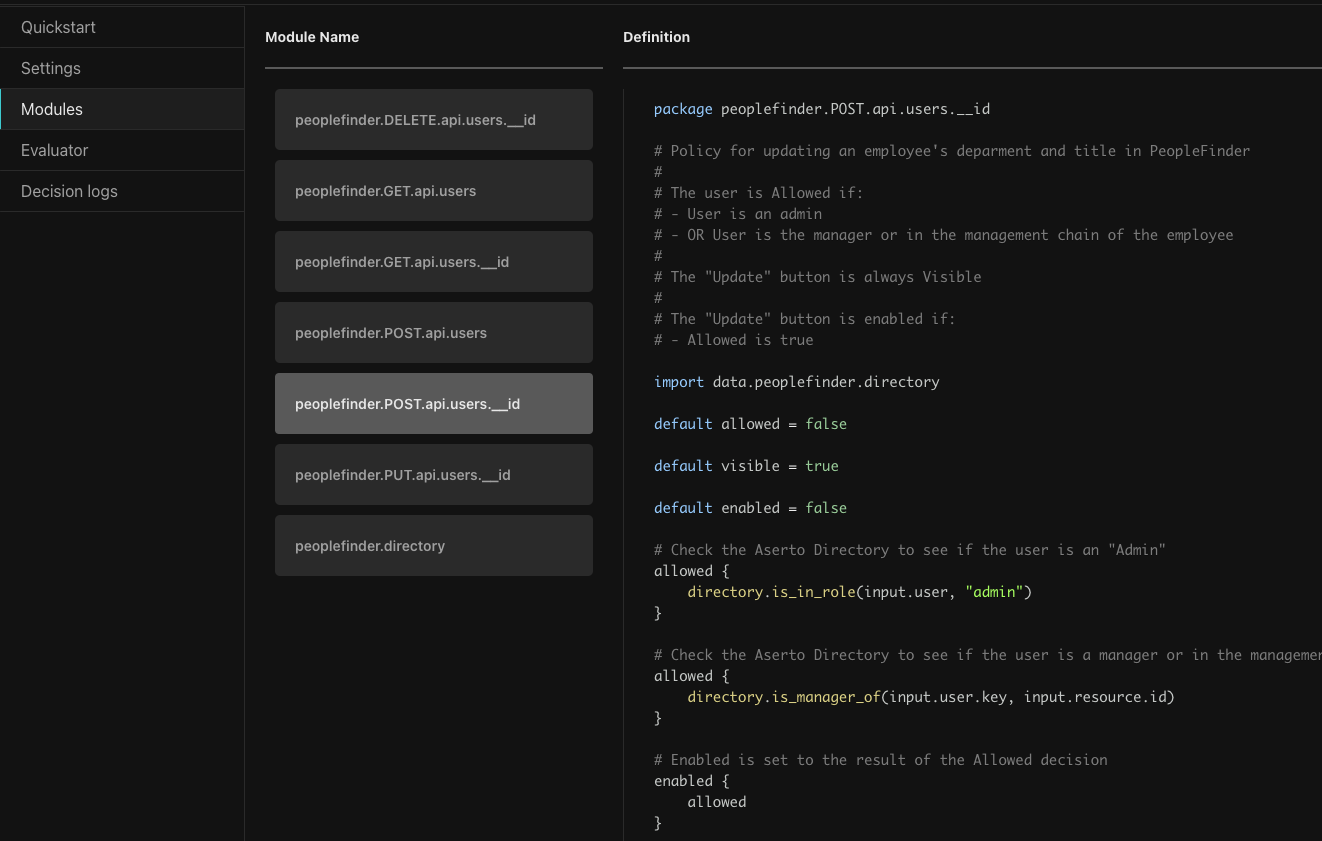
This will bring up the Modules browser. Select peoplefinder.POST.api.users.__id to see the updated ReBAC module.
Here you can see the new ReBAC version. Looking at the code you can see it is importing the directory module and using directory functions to check if the user is an admin, and to check if they are a manager. The is_manager_of function (defined in the last module, peoplefinder.directory) looks beyond the immediate manager all the way up the management chain. This means Euan's manager's manager should now be able to update the Department and Title properties of the user.
Testing in the Policy Evaluator
Let's verify this works. Click on Evaluator to open the Policy Evaluator.
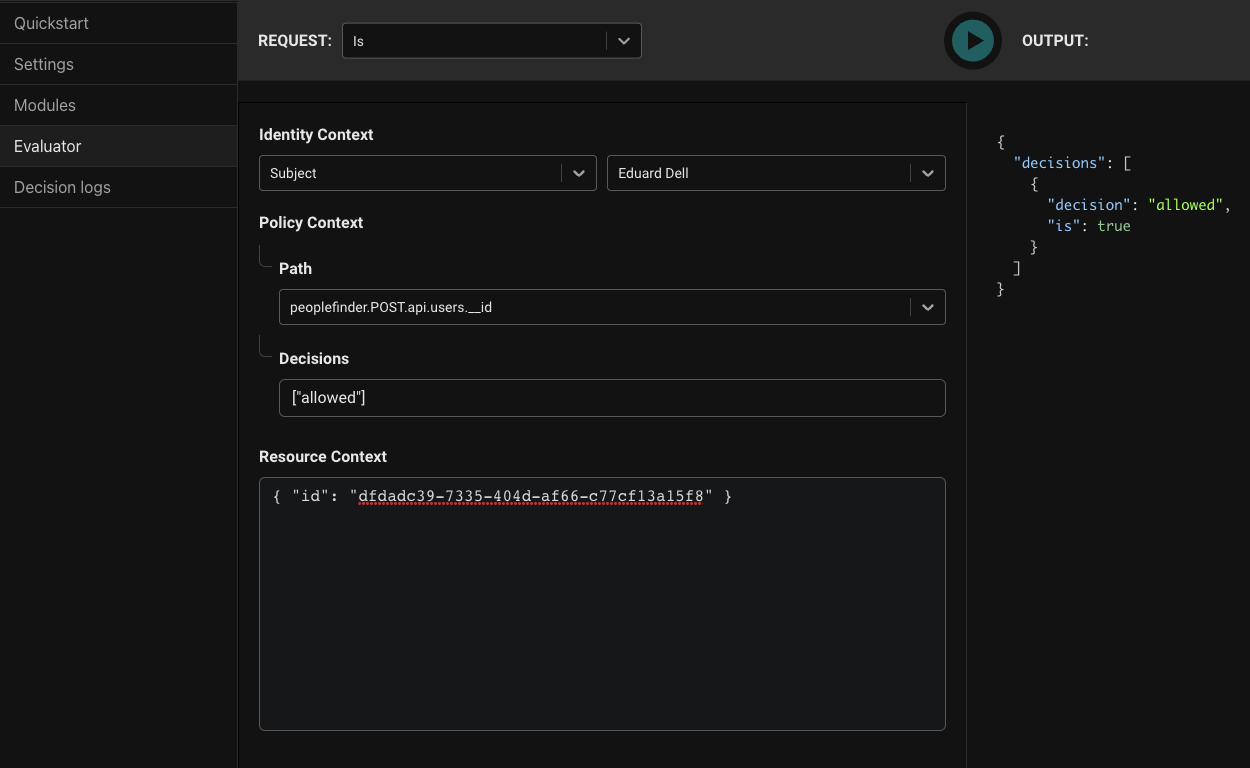
- For
Identity ContextselectSubject. In the Subject dropdown choose 'Eduard Dell'. Eduard is the manager for April, Euan's manager. - For
Pathchoosepeoplefinder.POST.api.users.__id. - Leave
Decisionswith the default. - For Resource Context, put
{ "id": "dfdadc39-7335-404d-af66-c77cf13a15f8" }, Euan's ID.
Clicking 'Play' should yield true proving the ReBAC policy is working.
Testing in PeopleFinder
It is great to see that it works in the Aserto Console, but what about the app? When we updated the policy it instantly took effect for the app as well.
Click here to view your Netlify sites. Click on your site.
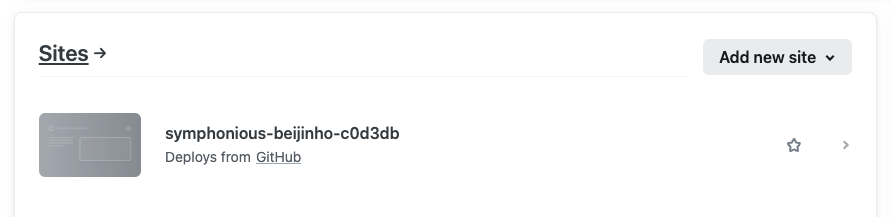
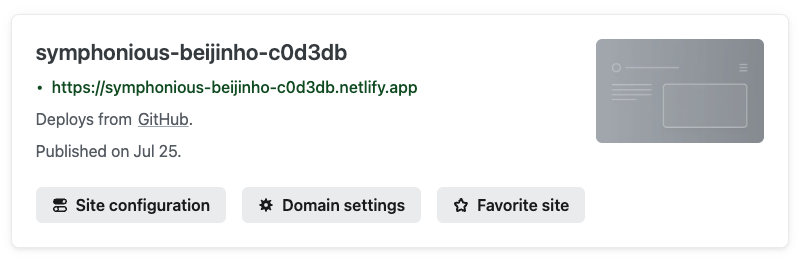
This will open the site overview page, click on the link at the top to open PeopleFinder.
You'll be taken to the login screen. Login as Eduard (same password as Euan).
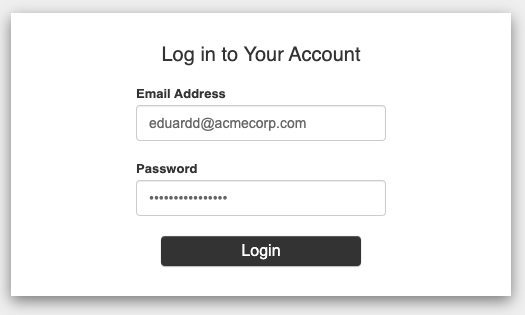
Or, if you're still logged in as Euan, you can just use the identity selector to impersonate Eduard.
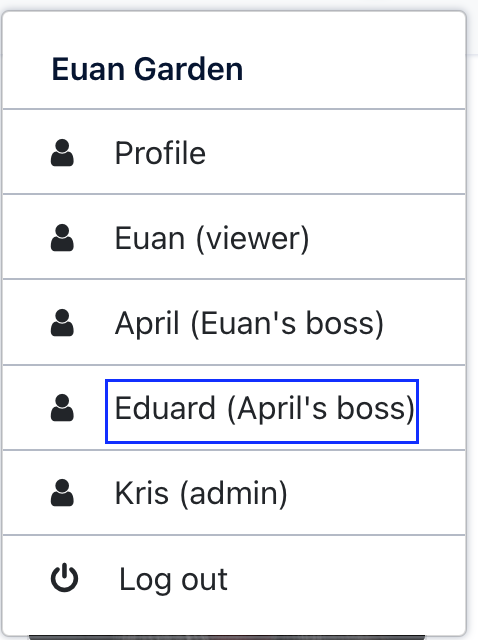
One Eduard has been selected type Euan Garden in the search box.
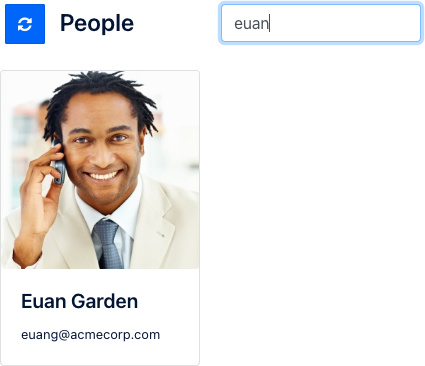
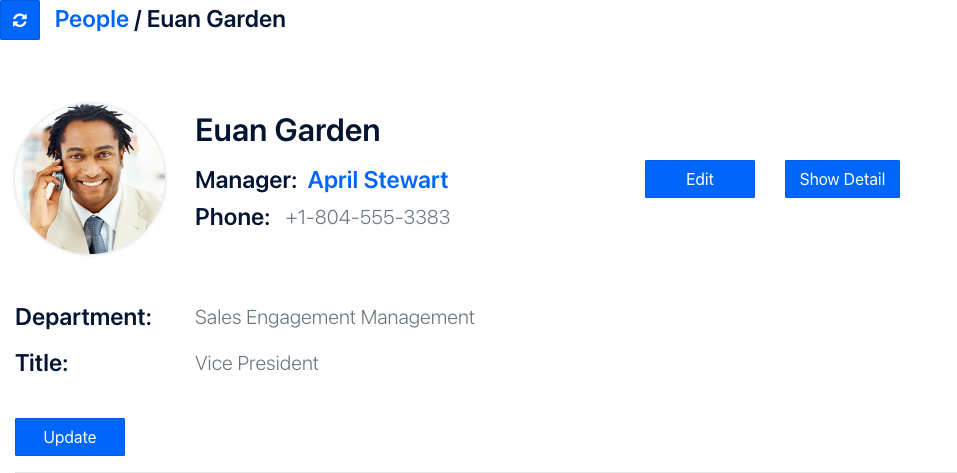
Click on Euan's card, and you'll be taken back to his detail page. Notice that the Update button is now enabled.

Click on Update. Let's give Euan a well-deserved promotion. Change his Title to Vice President and click Save.
Our new ReBAC policy worked!
You can easily change the peoplefinder-instance Policy Instance to bind to the initial policy image - policy-peoplefinder-rbac. This provides instant rollback to the previous behavior - again, without redeploying the PeopleFinder application.
Summary
You've just seen how you can can update your applications Policy to use a ReBAC model through rebinding your Policy Instance. This allows you to introduce new features into your product without having to make any code changes in the application.
Next Steps
Congratulations! You've completed the Aserto Quickstart. You've deployed your first application that uses Aserto, learned the core Aserto concepts, used the Aserto Console, and explored the richness of Aserto Policies. The next step would be to take our React.js and Node.js (Express.js) tutorial where you'll learn how to create a React frontend talking to an Express.js API that is secured with Aserto.