Deploy the PeopleFinder tutorial
We'll follow these steps:
- Create the peoplefinder policy instance
- Connect the "Acmecorp" identity provider
- Deploy the PeopleFinder application to Netlify (or run it locally)
- Switch policies and observe how the authorization behavior changes!
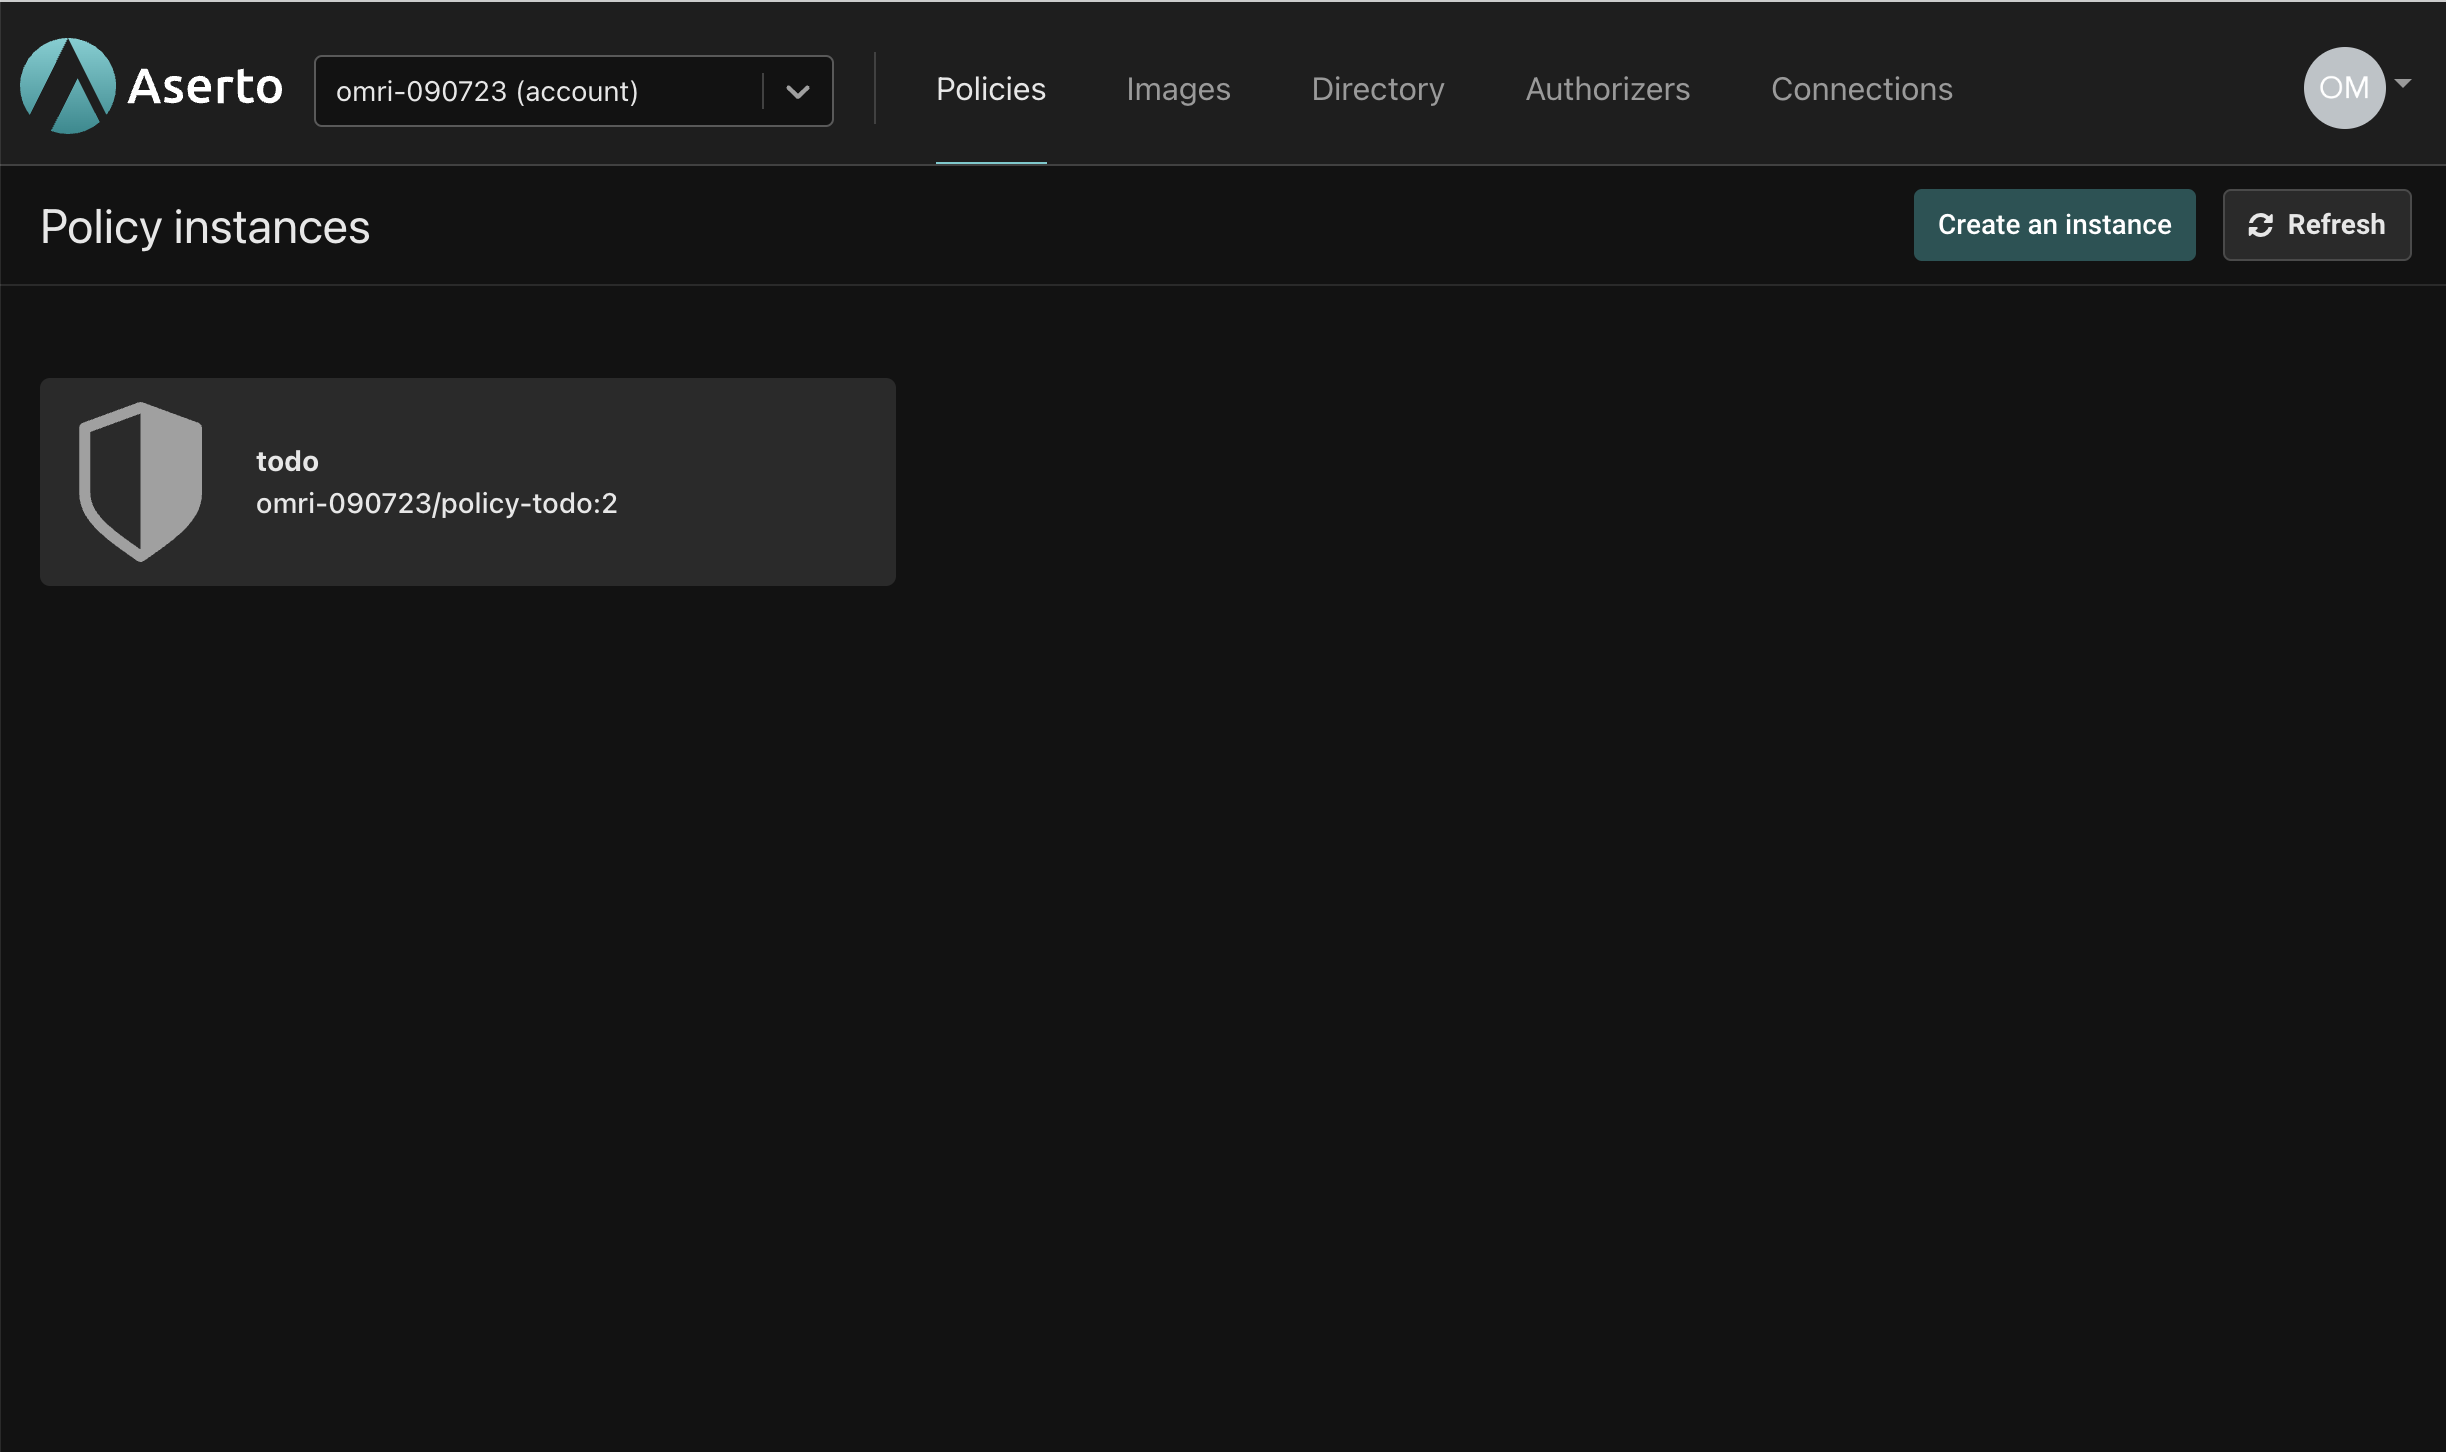
Create the policy instance
Click the "Create new instance" button in the top-right of the Policies tab.
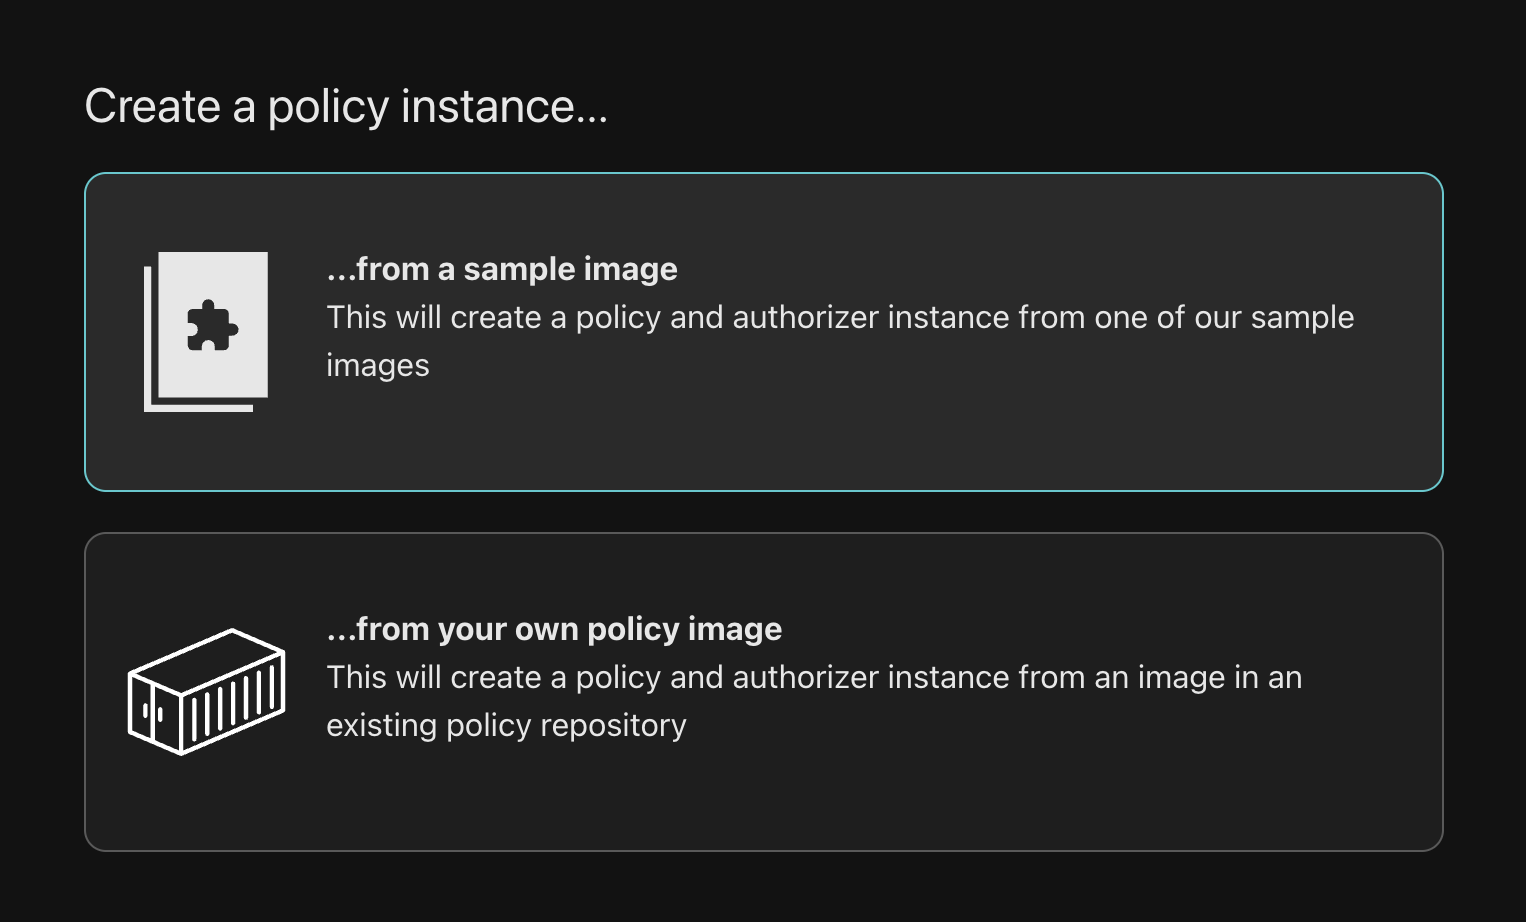
Select the "from a sample image" option:
Select the peoplefinder RBAC policy
Select policy-peoplefinder-rbac from the dropdown, and be sure to select the latest tag.
Name the policy peoplefinder-instance to match the rest of the instructions in this tutorial.
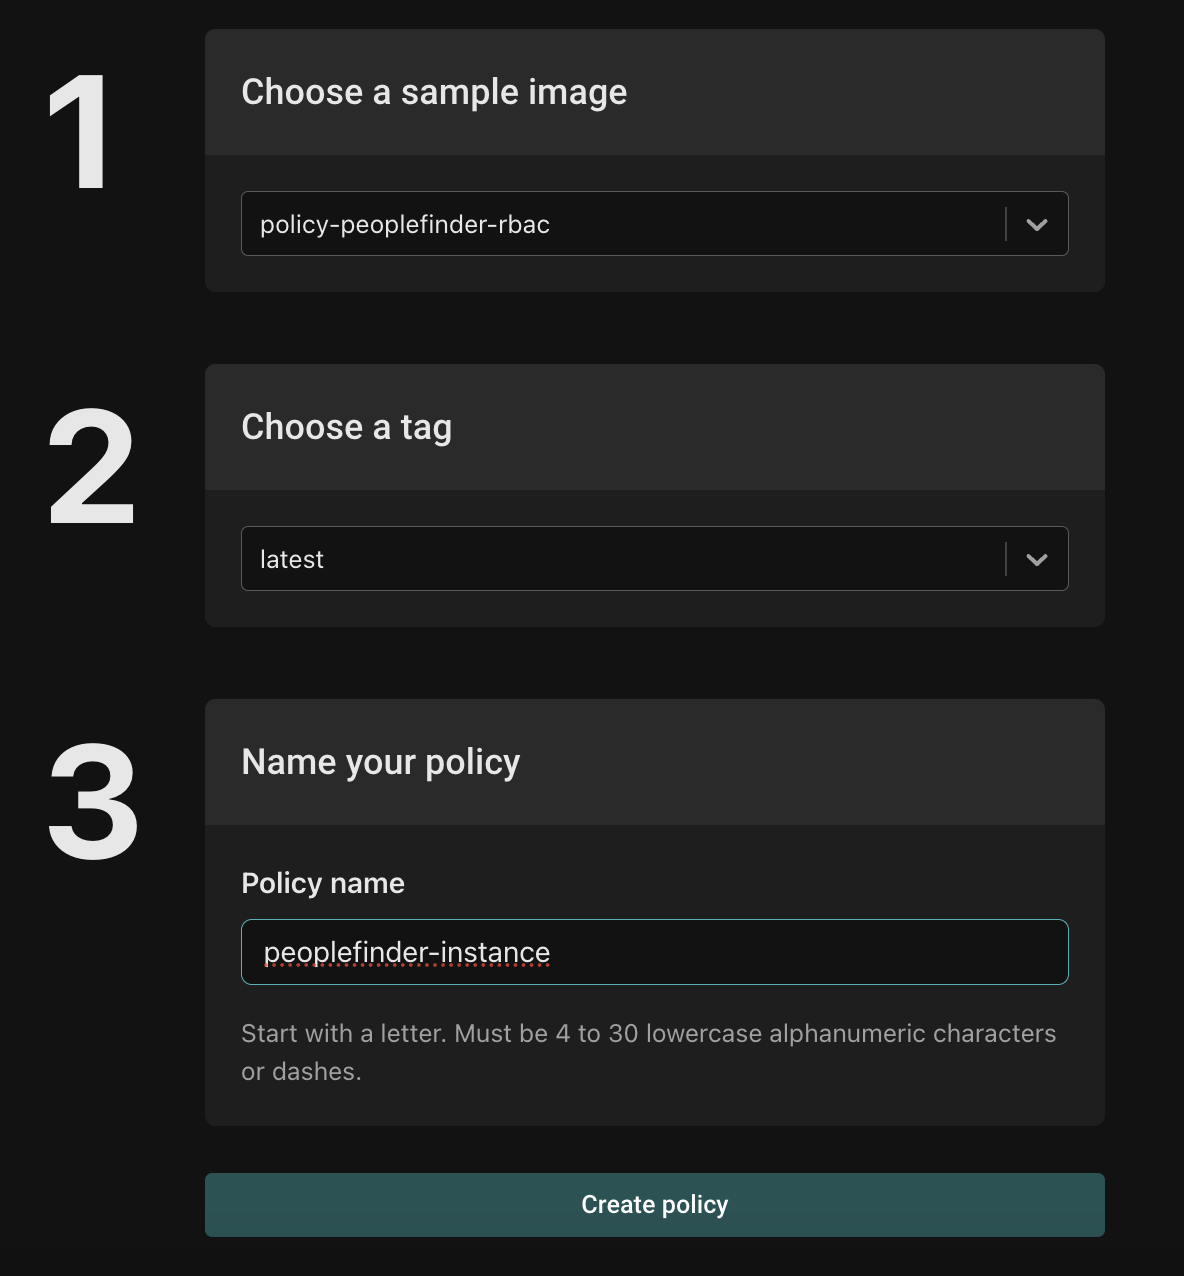
When you click the "Create policy" button, you'll be placed in the Evaluator for a newly created peoplefinder policy.
Click the Quickstart tab in the left navigation bar to get to the PeopleFinder Quickstart.
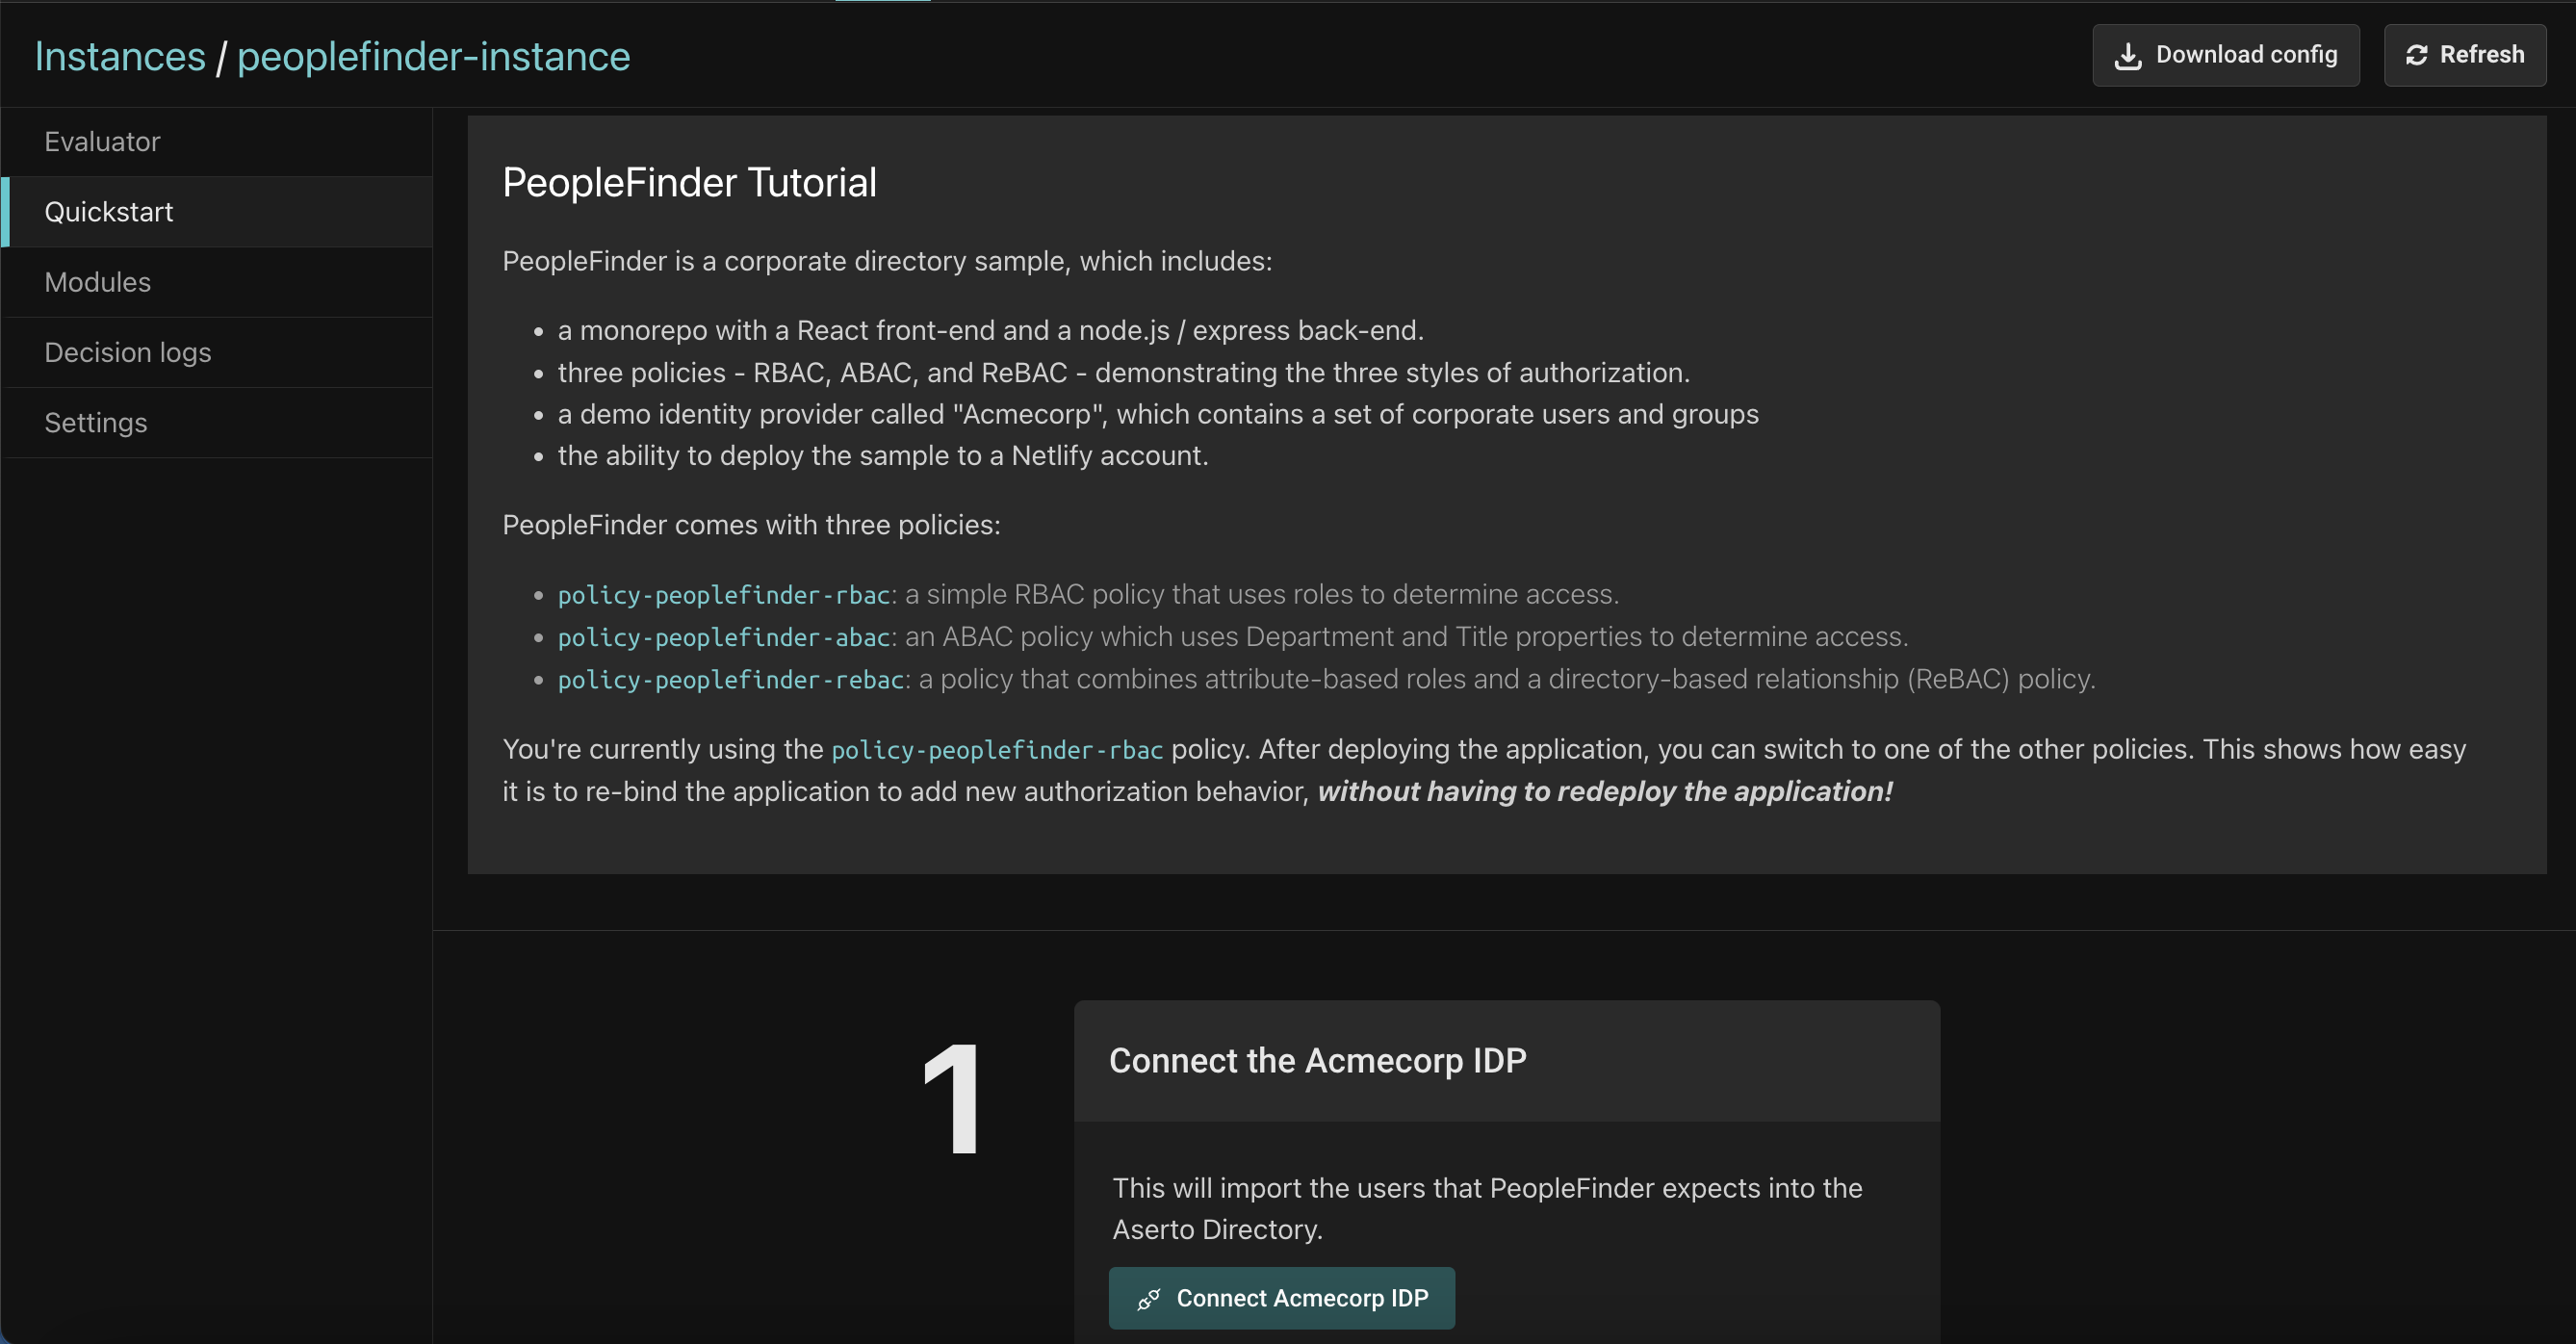
Connect the "Acmecorp" identity provider
An identity provider is the source of truth for user and group information. Aserto can pull user and group information out of an identity provider and into the Aserto Directory, so you can use these users, groups, and relationships between them in your authorization decisions.
The Acmecorp identity provider is a sample IDP that contains around 270 employees of a fictitious company called "Acmecorp", as well as a few groups that they belong to. Click the "Connect" button to connect the Acmecorp IDP to your account and import these users and groups.
Run the PeopleFinder application
Next, we'll run the PeopleFinder application and bind it to the peoplefinder-instance policy that we just created.
The easy way to do this is to deploy PeopleFinder to Netlify, a free hosting service for React-based applications.
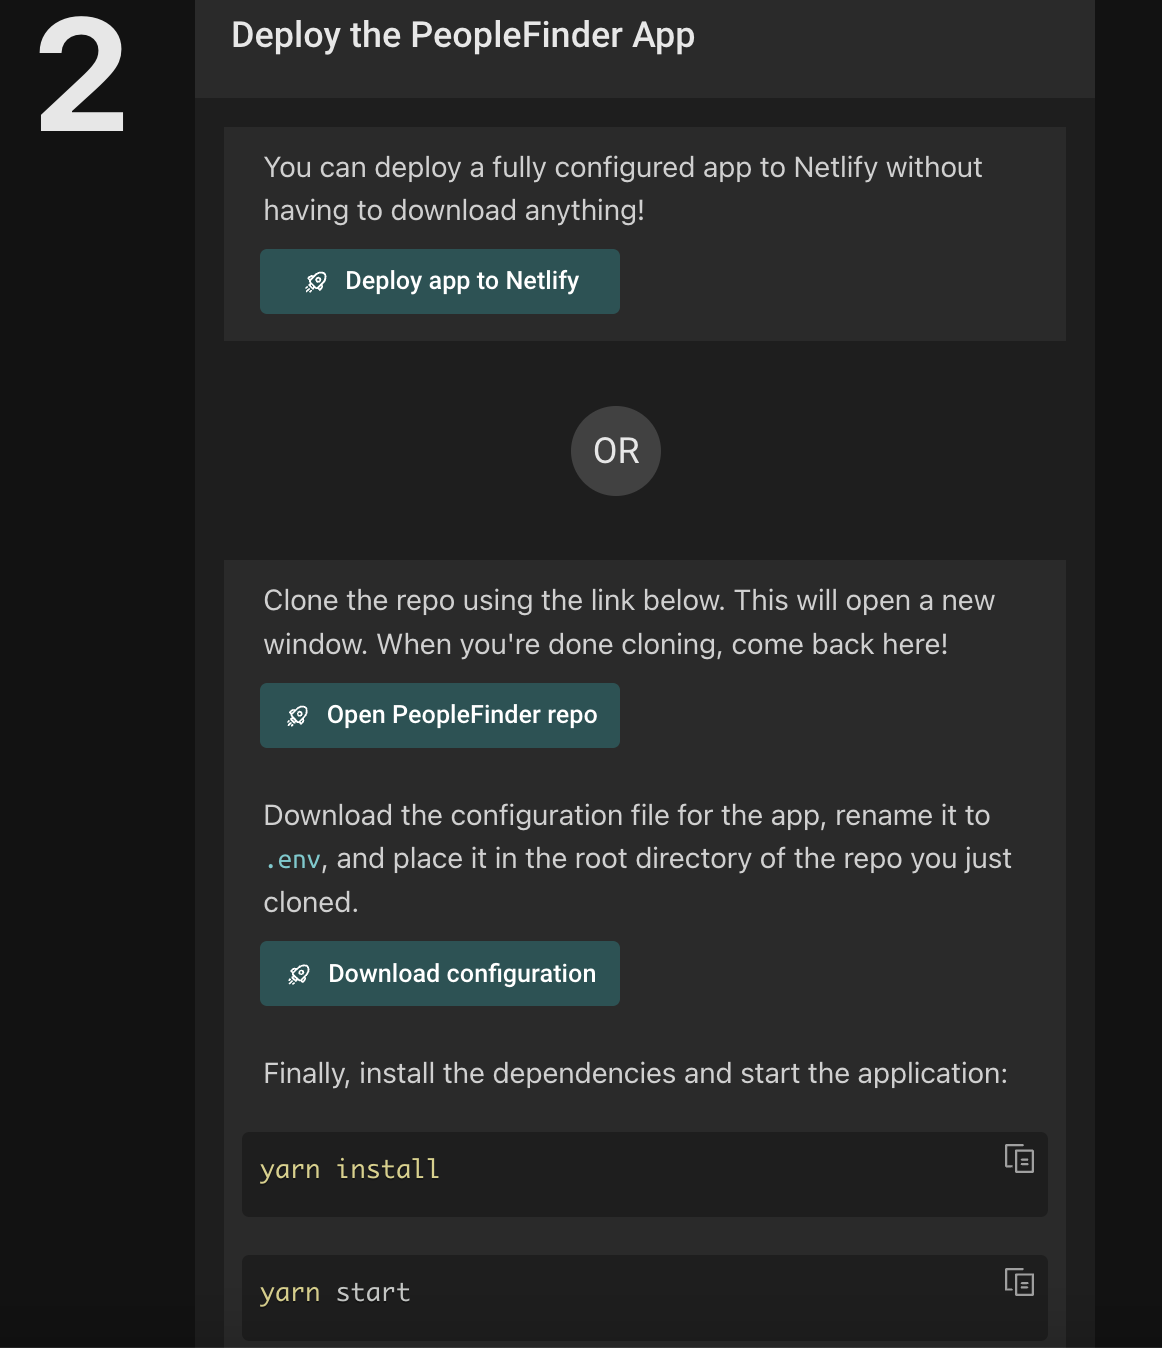
Click the "Deploy app to Netify" button, or follow the instructions to clone the repository locally, install the dependencies, download the .env file, and run the application on your machine.
Deploy to Netlify
Clicking the "Deploy app to Netlify" button will bring up the Netlify UI on a different browser tab:

Click the "Connect to Github" button to have Netlify connect to your Github account so that it can create a copy of the peoplefinder-acmecorp repo.
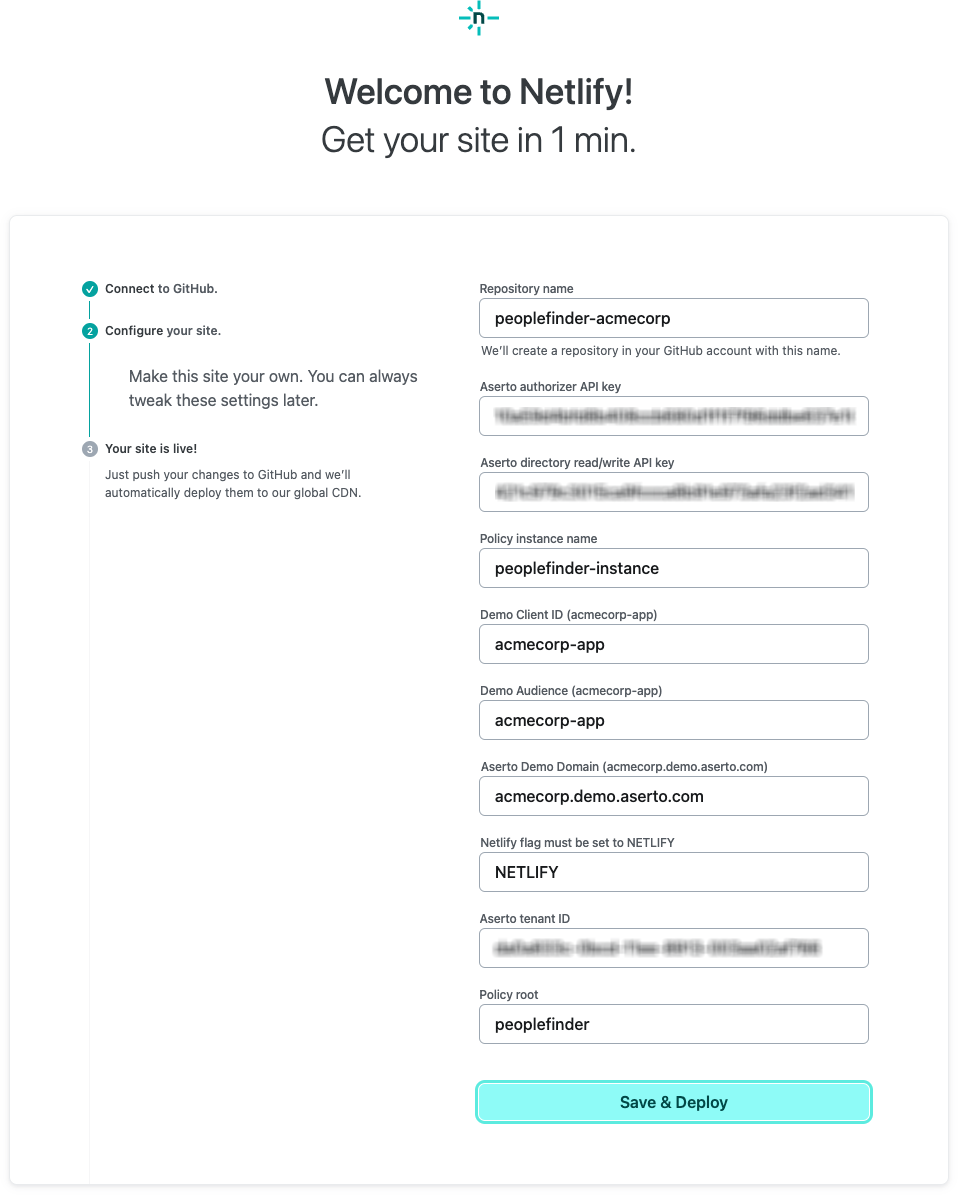
The next screen is pre-populated with all the configuration information Netlify needs to deploy the site. Click "Save & Deploy" and the deployment will start.
After about two minutes, Netlify should indicate that the deployment was successful. If it is you first Netlify deployment, you'll see "Get started" button.

Otherwise you'll see the "Open production deploy" button.

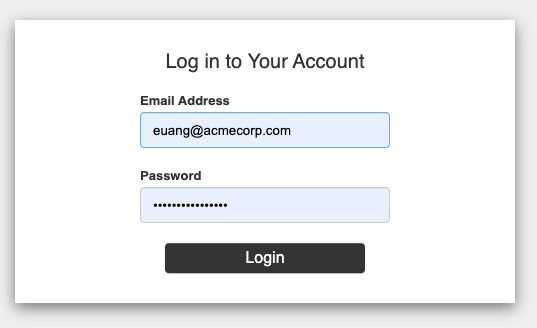
Click the button, and you will be taken to your live instance of PeopleFinder!
Congratulations!
You now have a live instance of the PeopleFinder application bound to an Aserto Policy instance running in your Aserto account. Now let's dive in and learn more about the PeopleFinder application.