Instantiate the API Authorization template
To use API Authorization the first thing you need to do is install the API Authorization template. This will accomplish the following:
- Create a
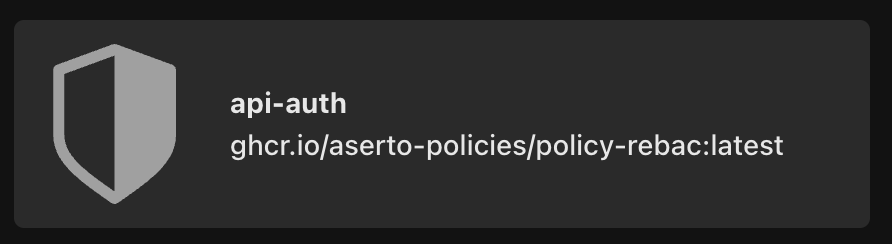
api-authpolicy instance which uses thepolicy-rebacpolicy image, and contains the API Authorization Quickstart. - Install the Citadel Demo IDP which is based on the Rick & Morty cartoon and contains 5 users.
- Install the API Authorization Data Connection which contains several services and endpoints, along with relations to the Citadel users and groups.
Instantiate the template
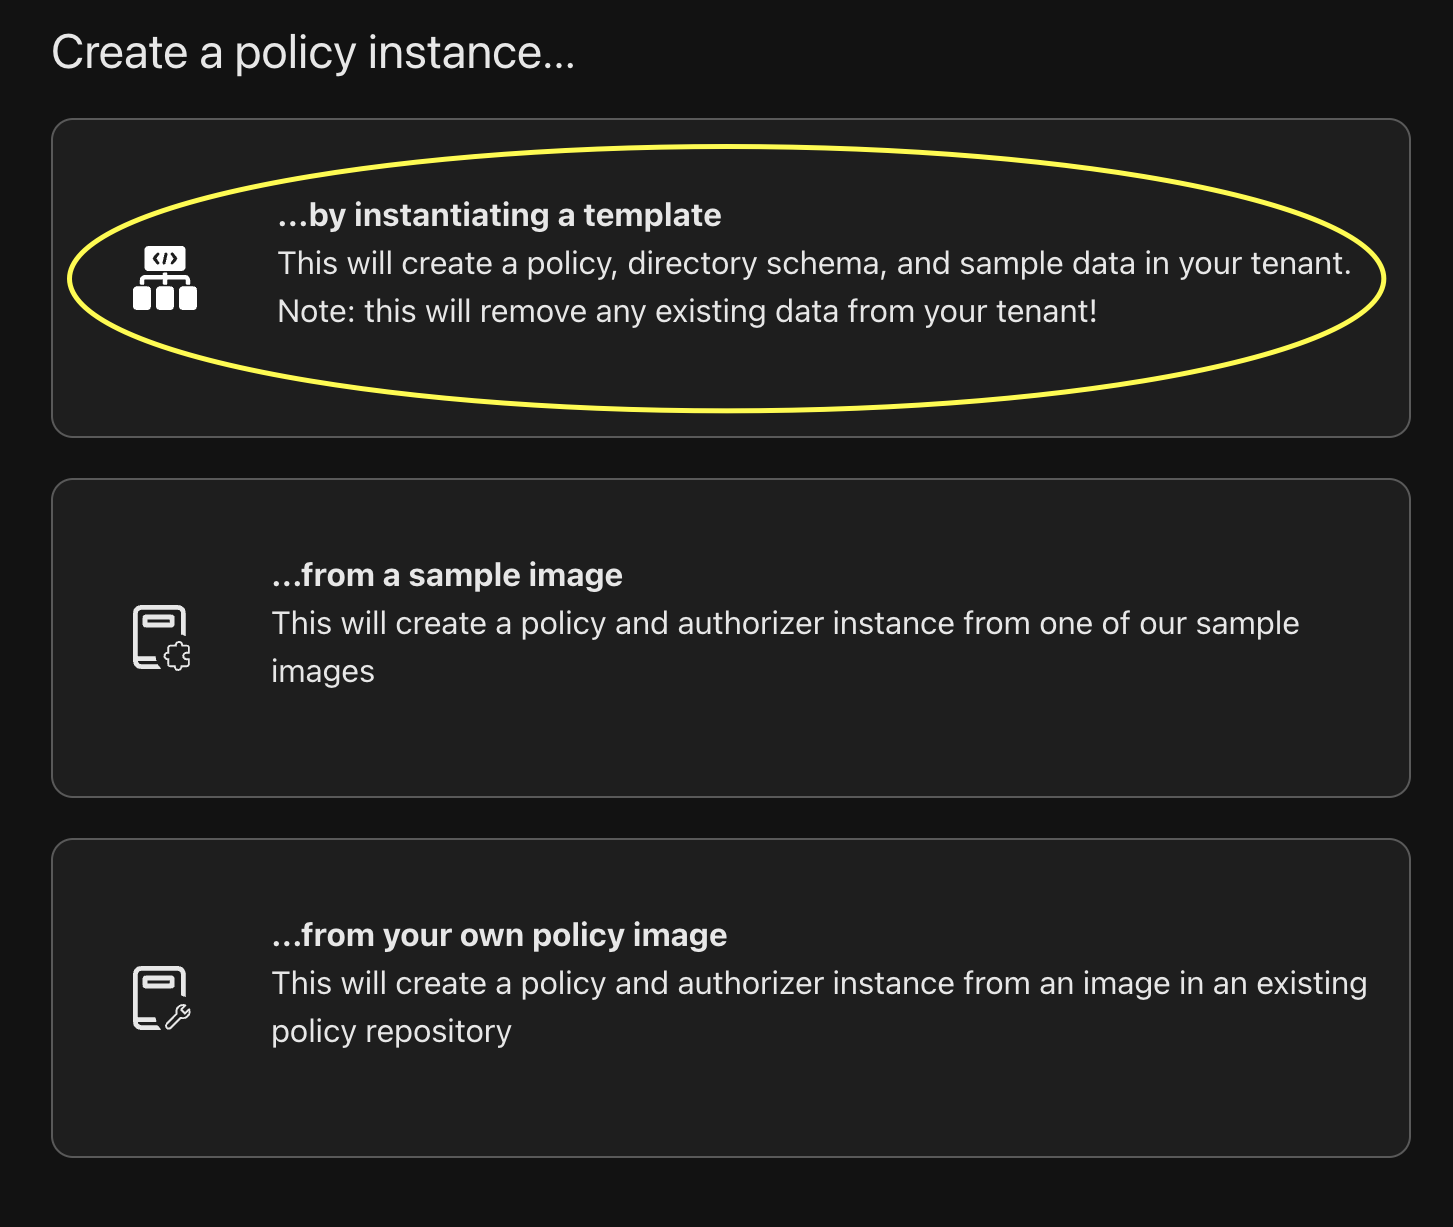
From the Console, click on the Policies tab. This will display the list of available Policy instances. Click on the Create an instance button in the upper right corner.

The "Create a policy instance" screen will be displayed with a list of options. Click on "...by instantiating a template".
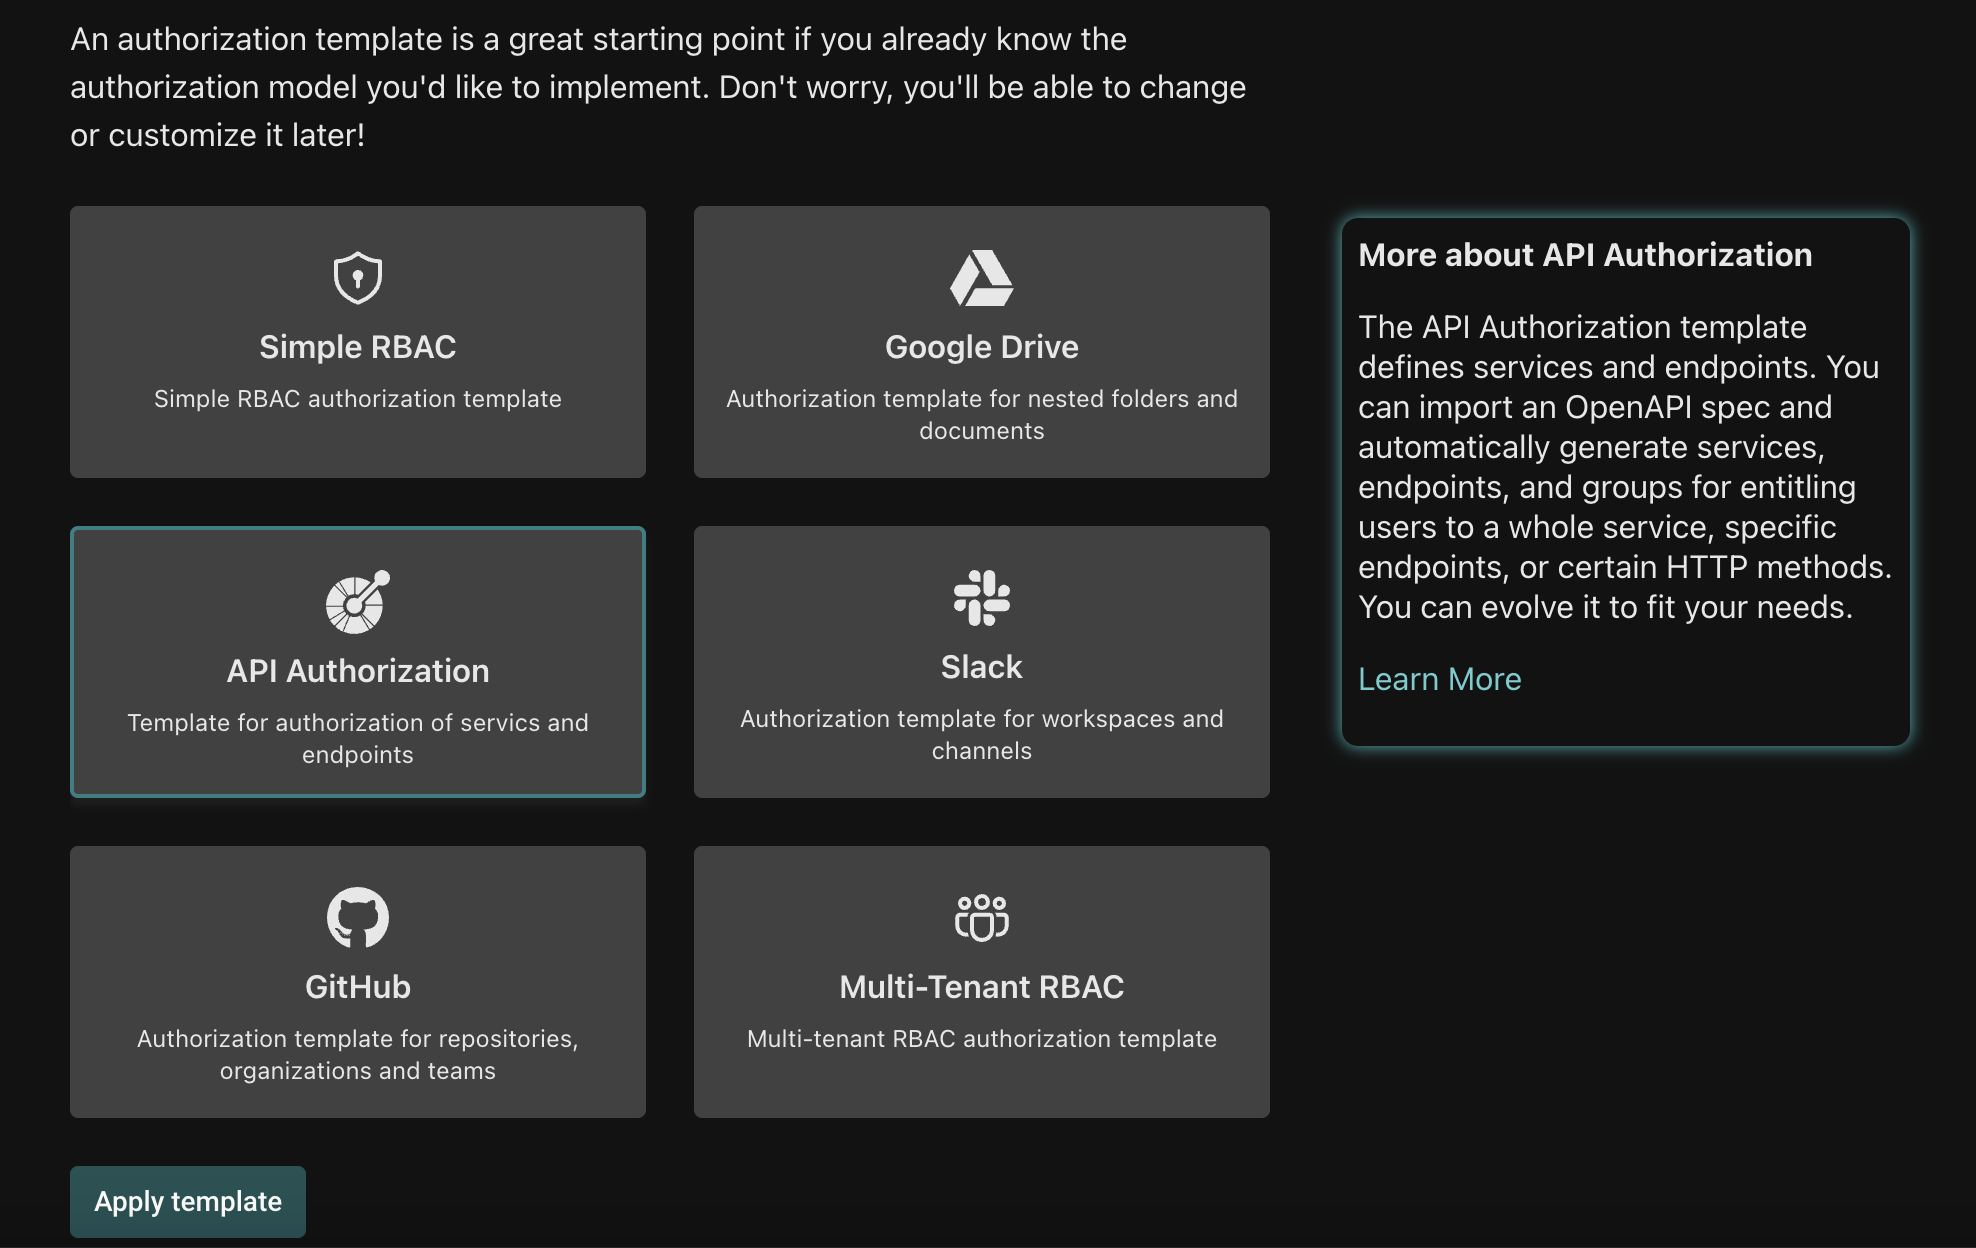
Next you'll see the available templates that you can apply. Select API Authorization and click the Apply template button.
You'll now see a modal warning that all directory data will be removed. When you install a template, all existing directory data is removed. If you previously connected your own identity providers or manually added any data, it will be erased. The data from your identity providers will be re-imported, but any data created manually will be lost. To proceed, click the Delete Data button.

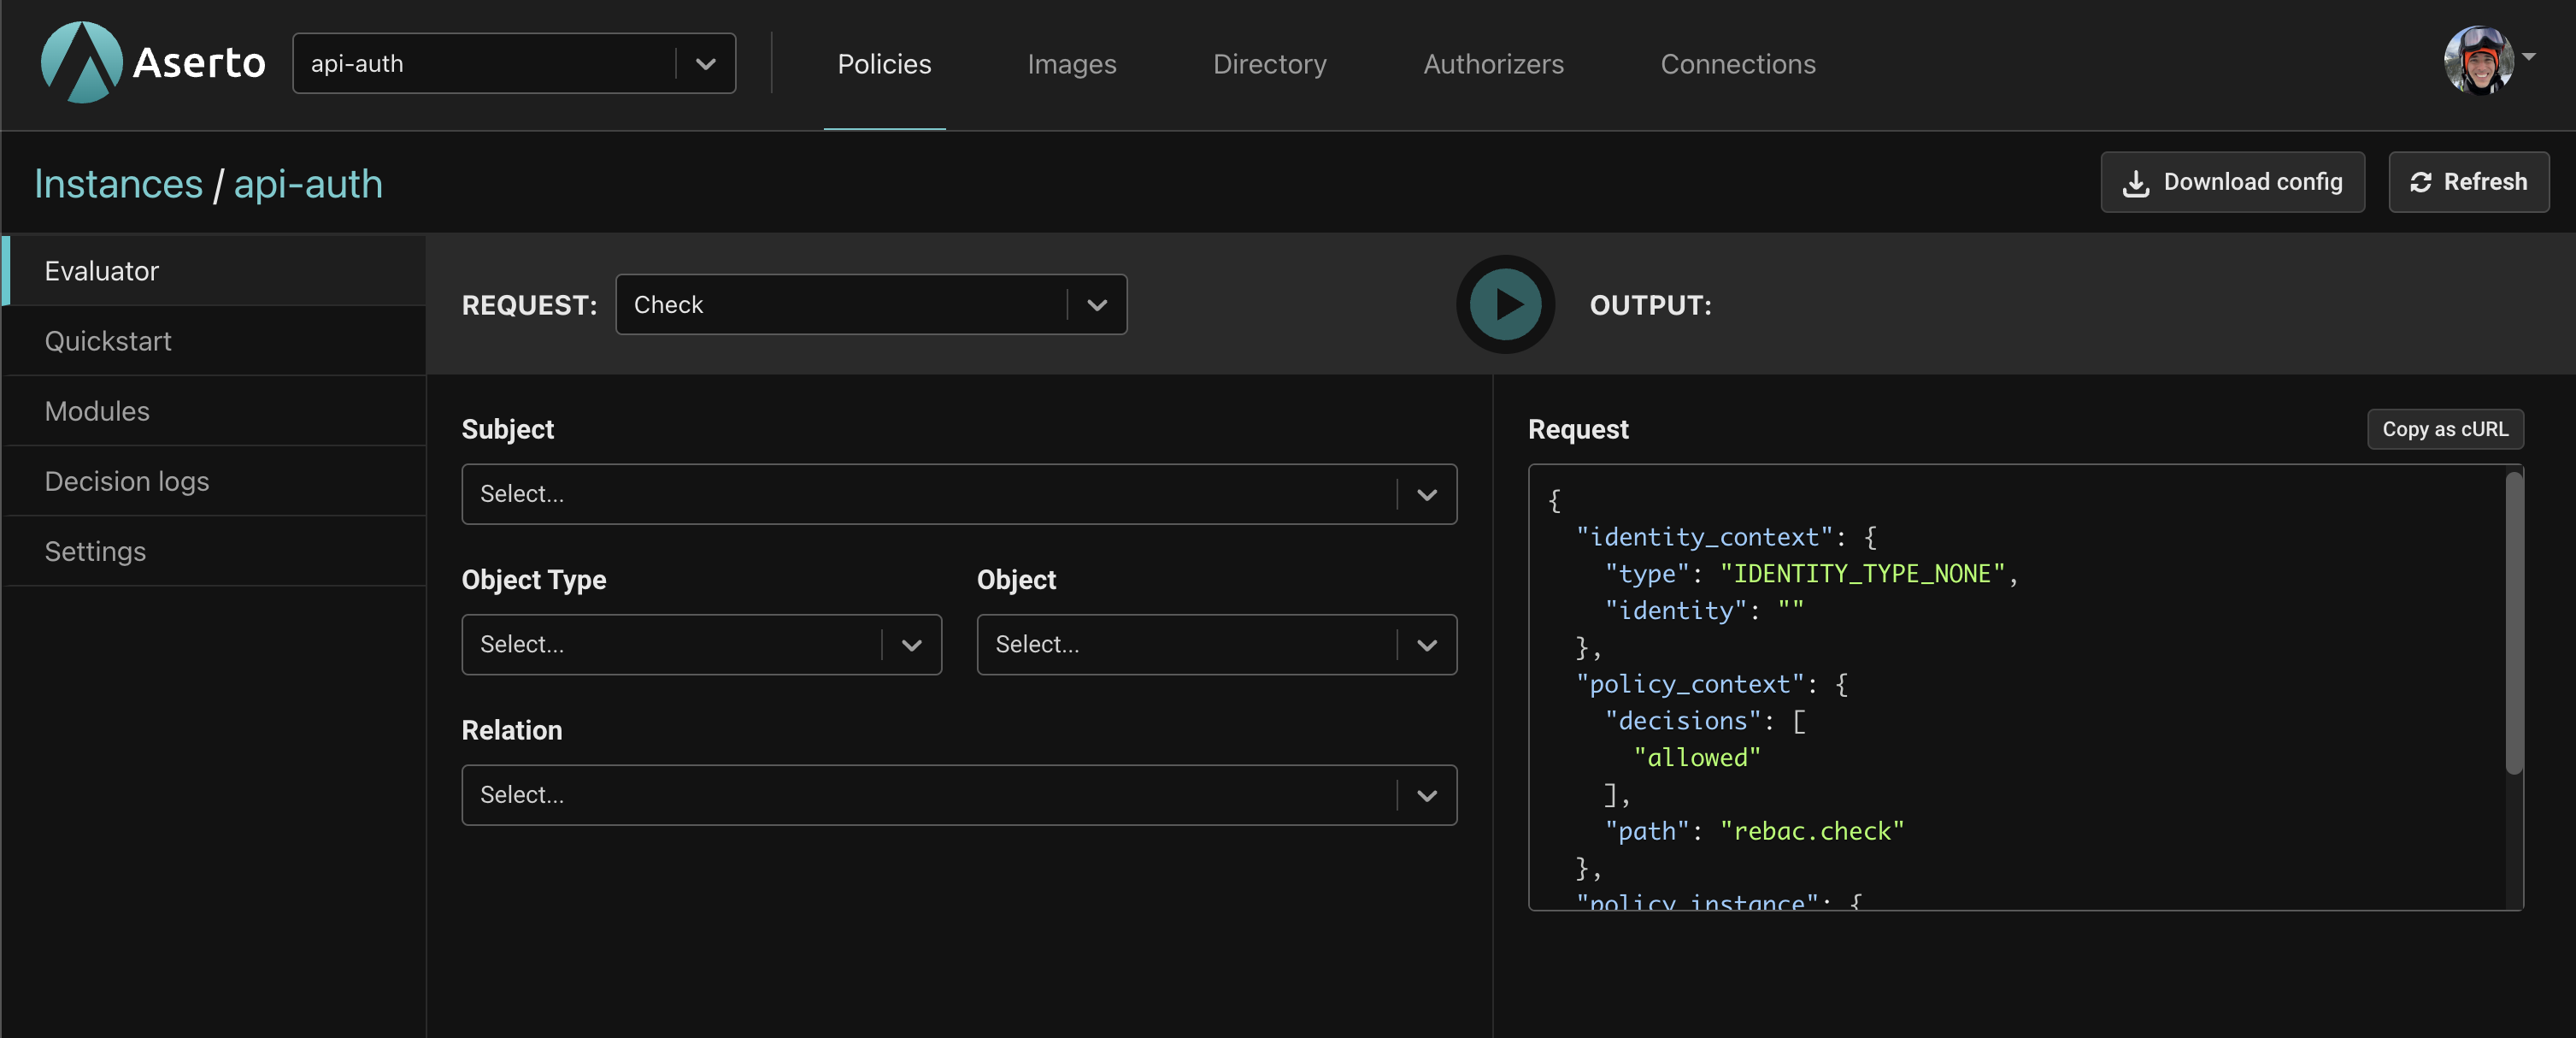
Once the template has finished installing, you will be taken back to the Policy instances screen where you can see the new api-auth instance has been created. Click on it.
Notice that the api-auth instance relies on the policy-rebac policy image: our API Authorization scenario is an example of a relationship-based access control (ReBAC) model.
Next Steps
You should see the api-auth evaluator, which you will use in the next topic to test out your policy.