Orientation
After creating an account and locking in your organization name, you will be directed to the "Getting Started" page.
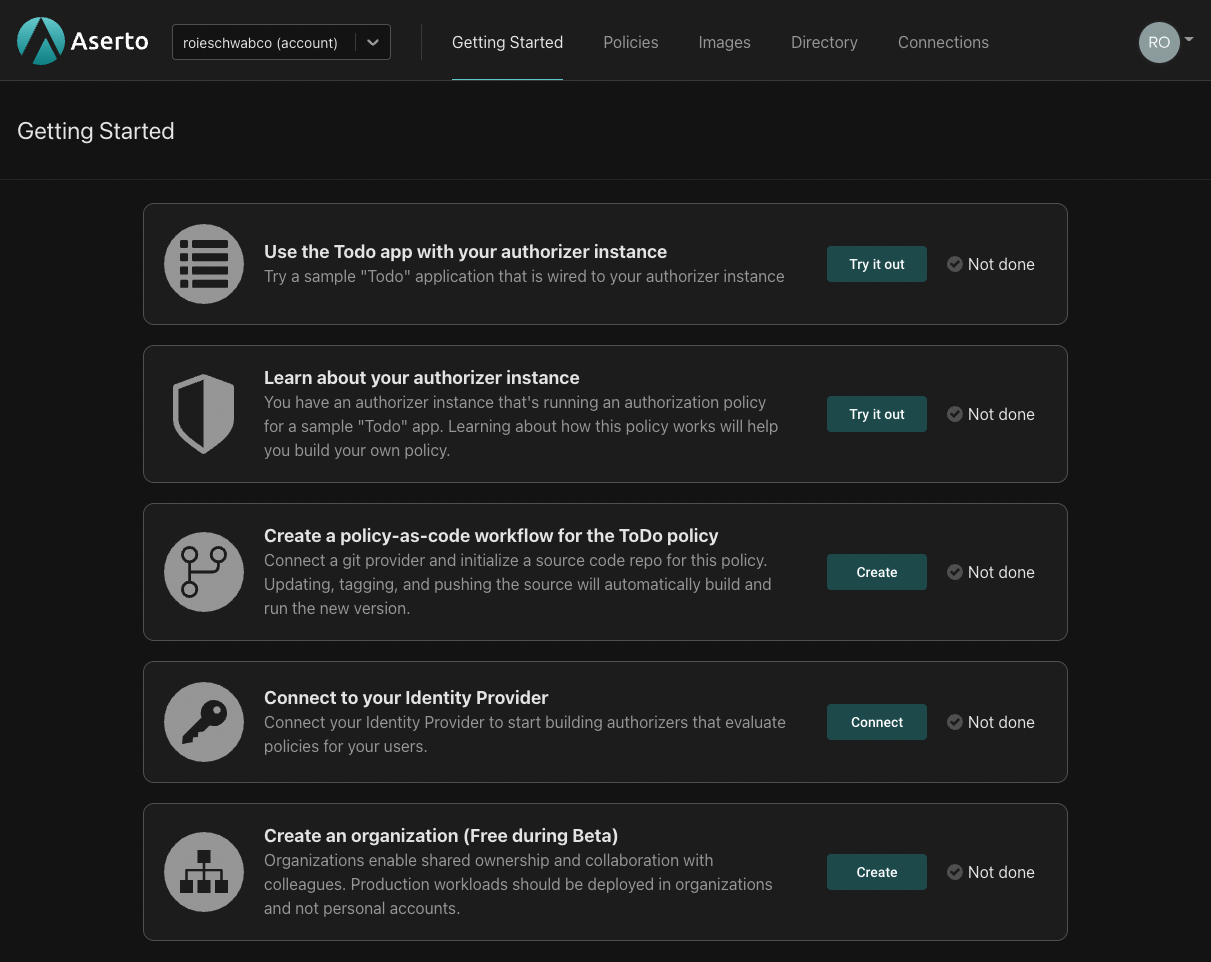
Here's what you can expect when you go through these initial orientation steps:
Try out the Todo app
Your tenant has been preloaded with an example authorization policy and a demo identity provider. The first step is downloading an example application which is wired to this preloaded policy and the demo identity provider.

Click on the "Try it out" button. The following screen will be shown:
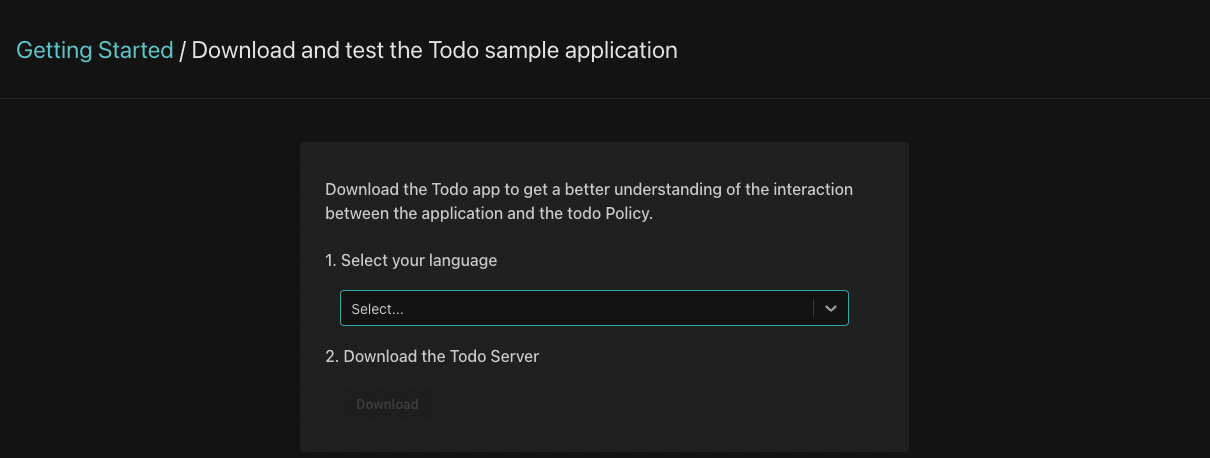
Select one of the supported languages and follow the instructions that follow. You'll be asked to download the Todo server and application, install the required dependencies and run the application. Then, you'll be asked to test the application using a set of users that have been made available in the demo identity provider.
You'll see how users can create, edit and delete todo entries. Depending on their role, users may or may not be able to update or delete todo entries they didn't create themselves.
Learn about your authorizer instance
As we mentioned above, your tenant has been preloaded with an authorization policy. This authorization policy is running on an "authorization instance" you can interact with.

Click on the "Try it out" button. The following screen will be shown:
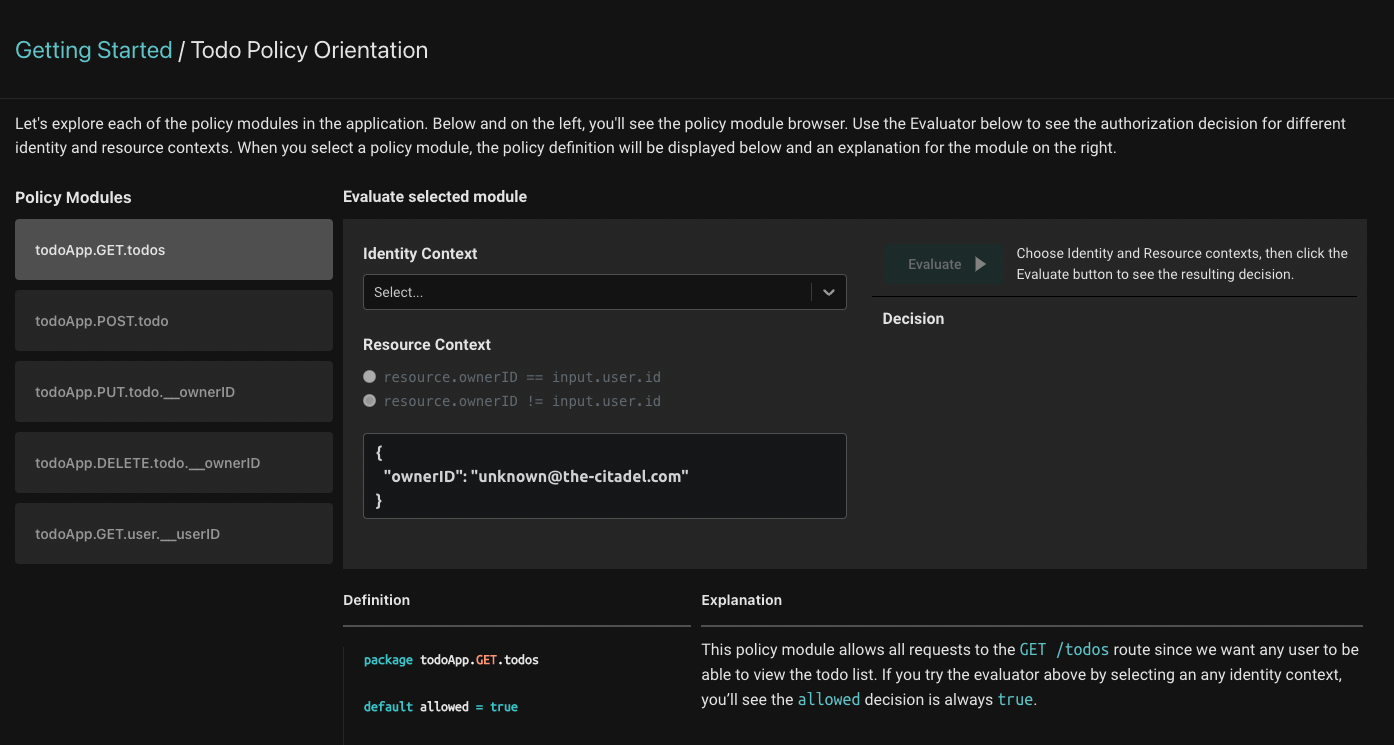
The preloaded Todo policy is comprised of 5 modules (seen on the left side of the screen). Each one of these modules contains the Rego policy that dictates the authorization behavior of each of the routes in the application you set up.
Rego is a high-level language similar to Datalog, used by the Open Policy Agent project to define authorization rules.
Clicking on each module will load the Rego definition for the module and a corresponding explanation that will help you understand what the Rego definition does and how it works.
Authorization decisions require three components:
- The identity context - the actor that is taking the action. Our application will resolve the user’s identity after they have logged in, and pass that identity to the server with every request.
- The resource context - the resource that is being acted upon. In the Todo application, the resource is each todo item - and particularly information about the owner of each todo item.
- The policy context - the rules applied to make the authorization decision.
On this page, we'll see how all three come together to produce an authorization decision.
On the right, you'll see the evaluator: it produces authorization decisions for each of the modules. To use it, first select the identity you'd like to evaluate. Then, you can set the resource context such that the ownerID would either equal the requesting user's ID or be different from it. This tells the authorizer whether the requesting user owns the todo entry or not - and the authorization decision is made based on that information.
When you select a policy module, the evaluator will produce the authorization decision for the selected policy module, identity and resource context.
Follow the explanations for each of the policy modules better understand how each module works.
Create a policy-as-code workflow for the Todo Policy
In order to modify the preloaded todo policy, you'll have to set up a policy-as-code workflow for it.

Click the "Create" button, and the following will be shown:
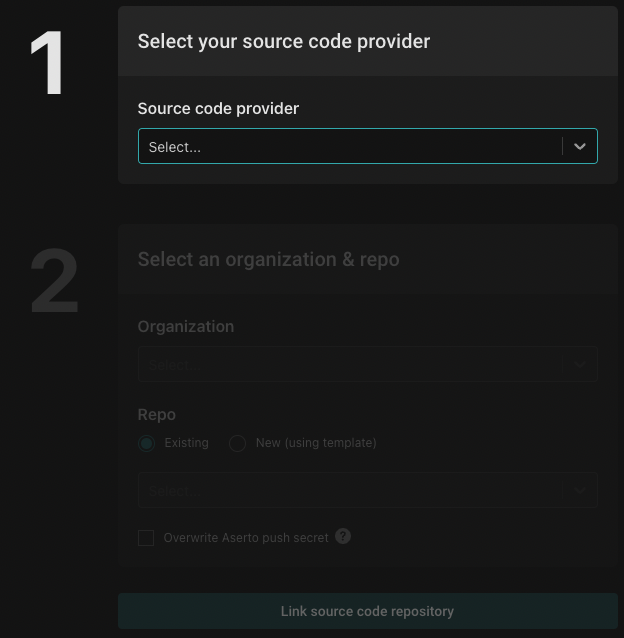
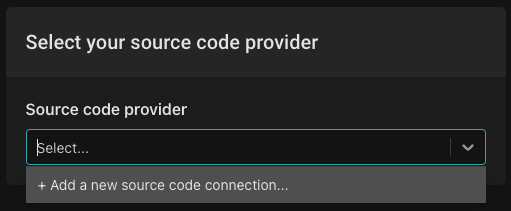
First, you'll have to set up your source code provider. Click the dropdown and then click "Add a new source code connection".
In this example we'll set up GitHub as our source code provider. You can read more about adding other source code providers here.
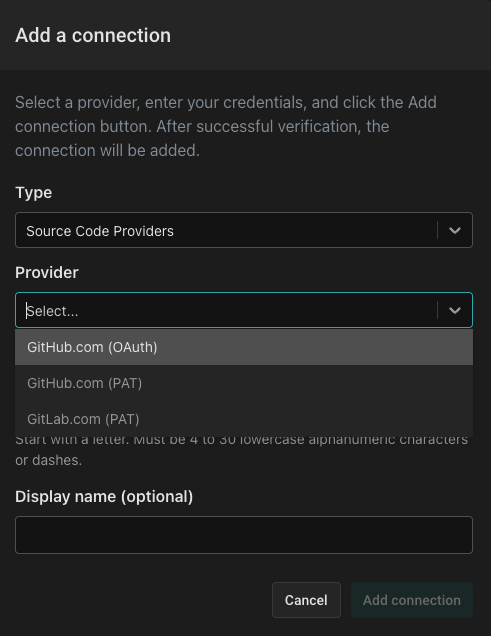
From the "Add a Connection" dialog, select the "Source Code Providers" type, then select "GitHub.com (OAuth)" as the provider. Next, name the connection github and use the display name GitHub. You'll be redirected to GitHub to complete the authorization process and then redirected back.
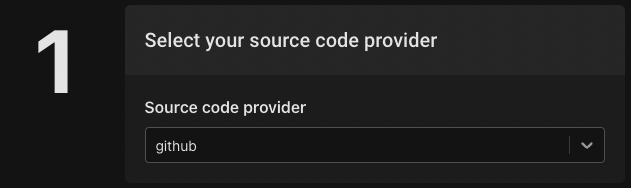
Select the github source code provider:
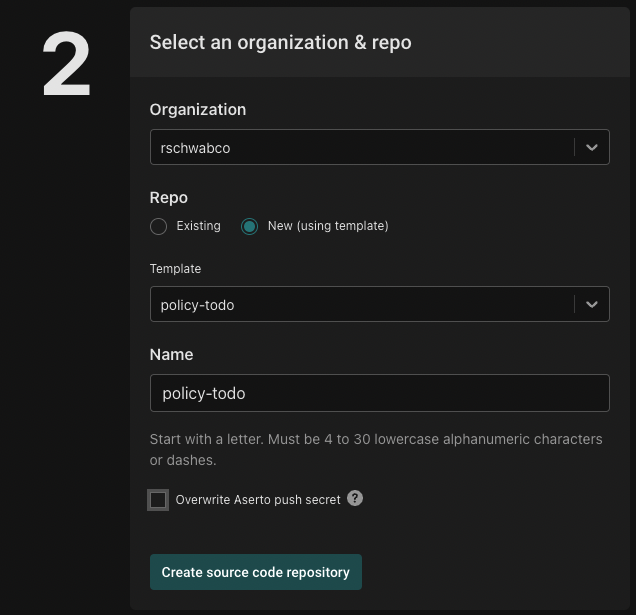
Next, select the source code provider organization you'd like the to use for this repo, select the policy-todo template and use the name policy-todo. To create the repository click the "Create source code repository" button.
To link this source code repository to the policy instance, click the "Link source code repository" button.

Connect to your Identity Provider
As mentioned above, the identity provider that is set up in your tenant is meant for demoing purposes. To connect your own identity provider, click the "Connect" button:

Follow the instructions for adding Auth0 or Okta as your identity provider.
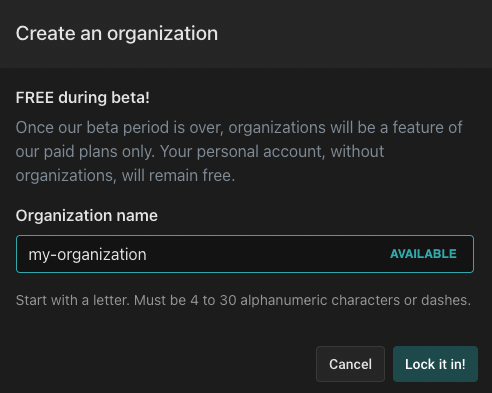
Create an organization
Organizations enable shared ownership and collaboration with colleagues. Production workloads should be deployed in organizations and not personal accounts. During the free Beta, you may create up to five free organizations. Click "Create" to create a new organization:

Next, name your organization and click the "Lock it in!" button.
Next Steps
That's it! You've complete the initial Aserto orientation. Next, we recommend going through the PeopleFinder QuickStart which will take you through the process of creating a policy from scratch, modifying it and understand its inner workings.