Create a policy and a policy instance
The underpinning of Aserto's authorization model is the policy.
Policies are authored, stored, and versioned as code in a git repository.
A policy instance is an instance of the decision engine's runtime associated with a tagged version of a policy (or a tag mask - more on this later). You can create multiple policy instances, each associated with a different version of a policy.
To get started, we'll create a policy repository and a single policy instance that will be a associated with it.
Add a policy repository
After creating your organization, navigate to the Images tab.

Click on the "Create a new image" button.

You'll be asked to choose between using a policy template and creating an empty policy repository:
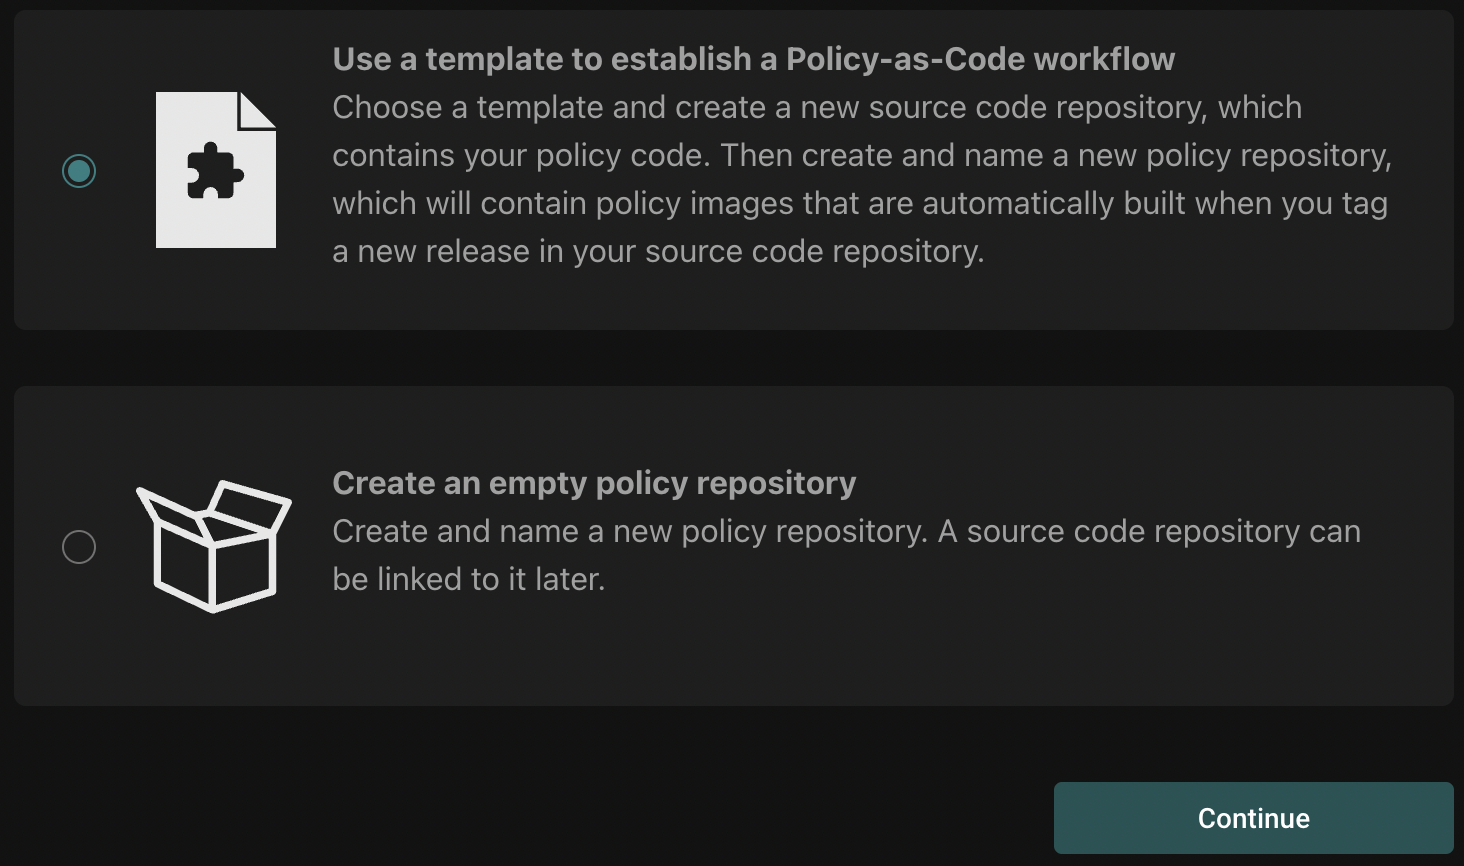
Select "Use a template..." and click "Continue".
Next, you'll go through a short workflow to select a git repository for your policy, and name that policy in the Aserto console.
The first step is to select a connection to a source code control system. Since you don't yet have any, you'll want to select the "Add a new source code connection" item in the dropdown.
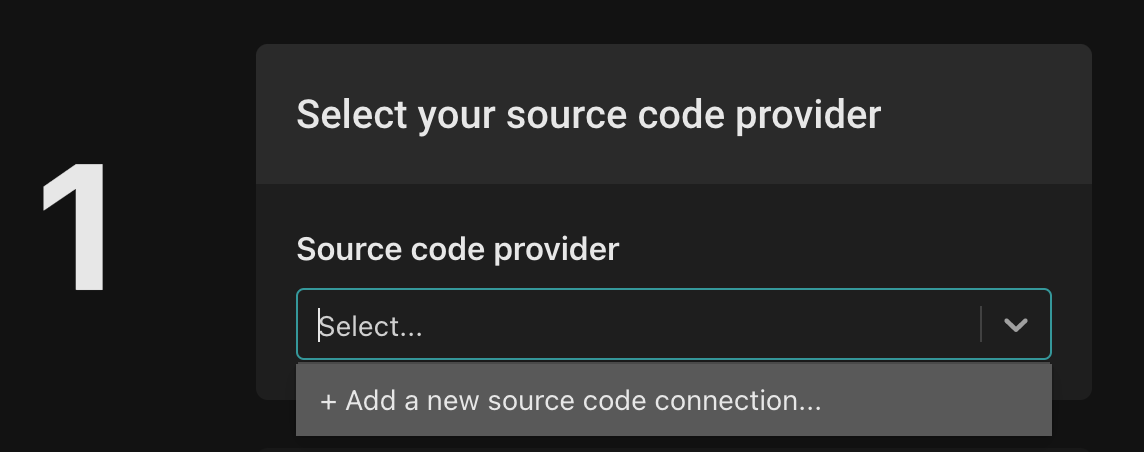
This will bring up a modal for adding a connection to a provider. Aserto supports GitHub and GitLab as source code provider.
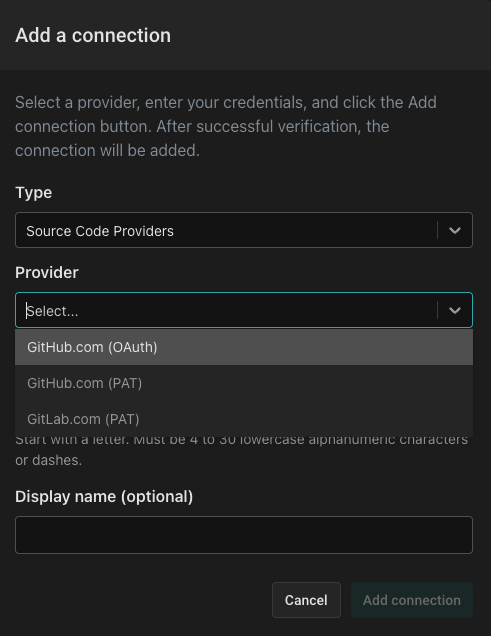
The easiest path is to select "GitHub (OAuth)" as the source code provider, give the connection a name (like github-<youraccount>), and click "Add connection".
- To connect GitHub using a Personal Access Token (PAT), follow these instructions.
- To connect to GitLab using a Personal Access Token (PAT), follow these instructions.
If you are managing an Aserto tenant for an organization, we recommend using a GitHub "bot account" to sign in with, and using a Personal Access Token which has access to your GitHub organization.
Once you complete GitHub’s OAuth2 consent flow, select your newly created connection.

Next, you'll be asked to select a template, an organization and a name for the policy repo. First, select the policy-peoplefinder-rbac template, then select the your source control organization from the dropdown and name the policy. Finally, name your policy repository policy-peoplefinder-rbac (this is the name of the repository as it will appear in your source control provider).
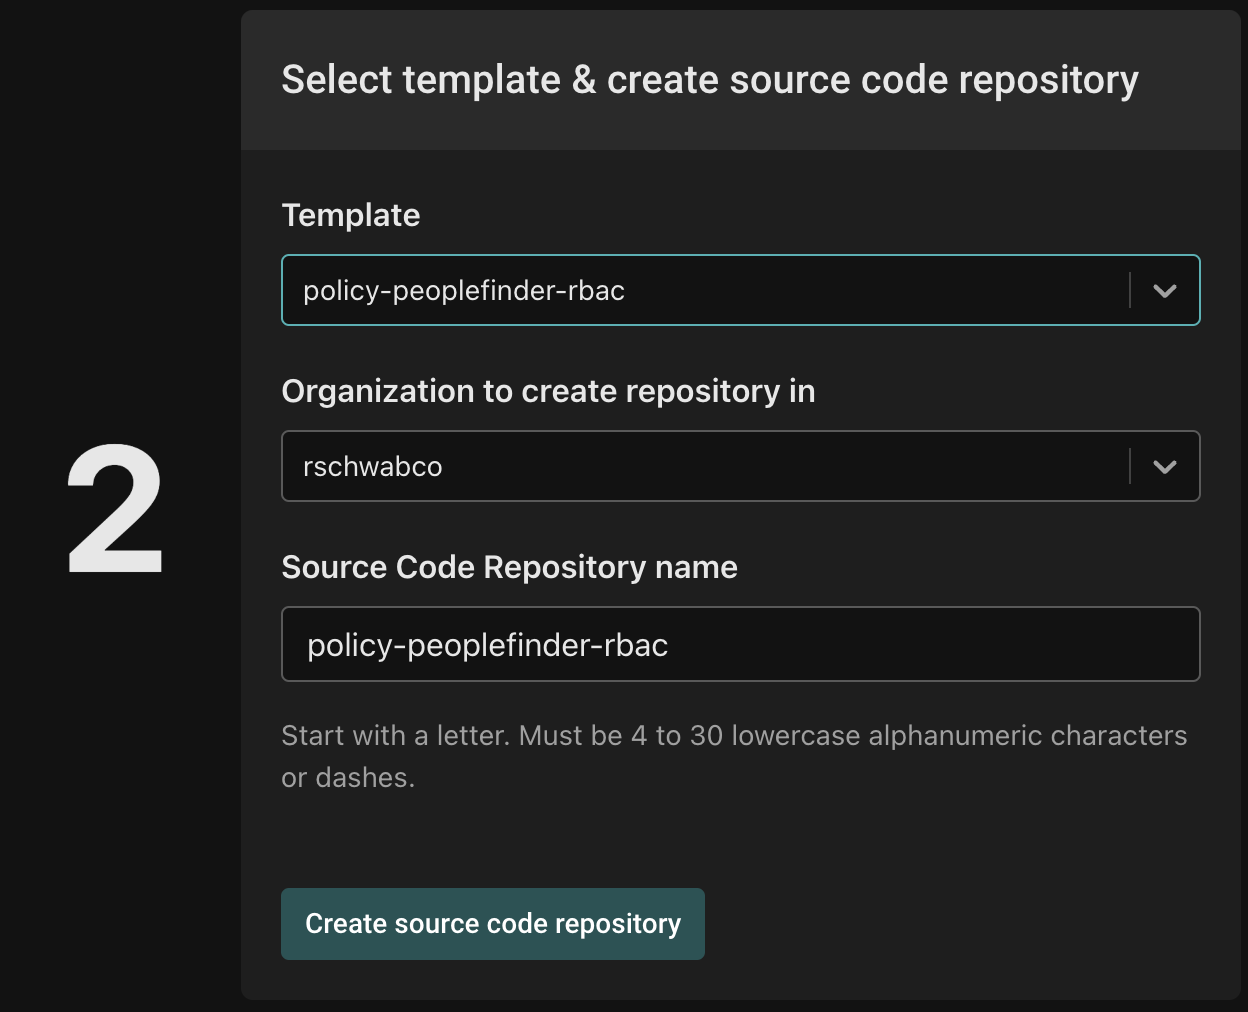
Your user must have sufficient permissions to create a secret in this GitHub repo (which may be controlled by the organization you choose to create the repo in).
Finally, name your policy repository with a descriptive name (e.g. peoplefinder). You’ll use this name later with the CLI.
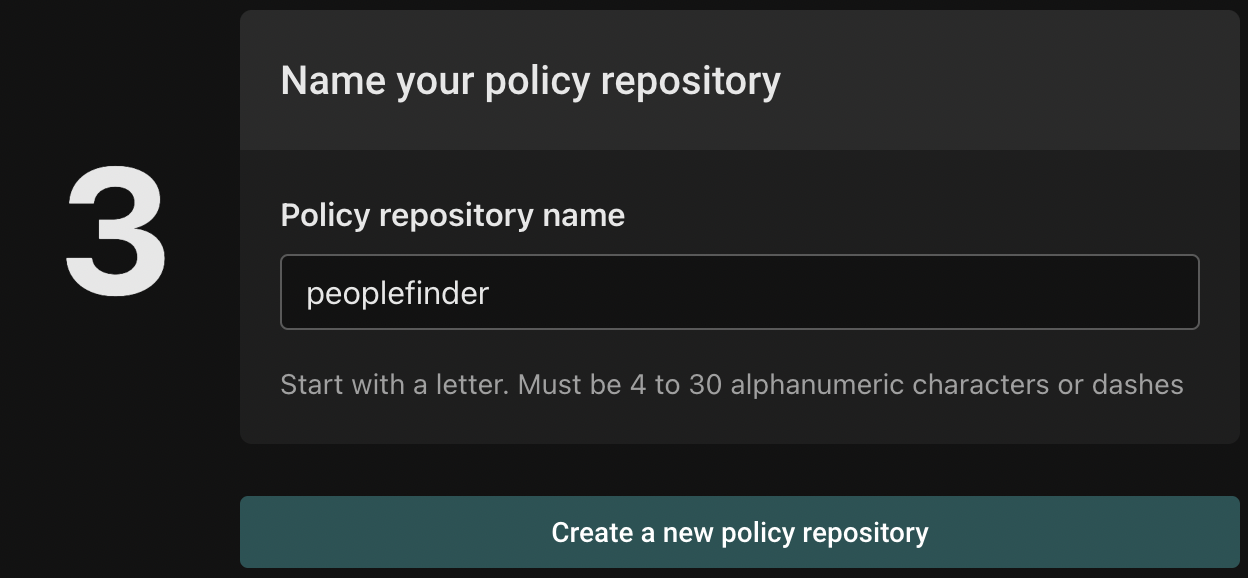
To complete the process, click "Create a new policy repository".
After creating your policy, you will see the details of the policy repository you just set up:

Aserto automatically creates four tags for your repository:
- latest - Represents the latest version of the policy. A policy instance associated with this tag will always reflect the latest tag pushed to the repository.
- 0.0.0 - The patch version of the policy. This tells the authorizer to use this specific version of the policy.
- 0.0 - The minor version of the policy. The latest patch version under the minor version will be included in this policy. For example, if you create a
0.0.1tag, any policy instance associated with the0.0tag will reflect the latest patch version change. - 0 - The major version of the policy. The latest minor and patch versions under the major will be applied. For example, if you create a
0.1or0.0.1tag, any policy instance associated with the0tag will reflect the latest minor and patch version change.
Create a Policy instance
After creating a policy repository, we'll create a policy instance that will be associated the repository.
First, click on the "Policies" tab and click the "Create an instance" button:

Next, you'll be asked to select between creating the policy from a sample image or from your own policy image - choose "...from your own policy image".
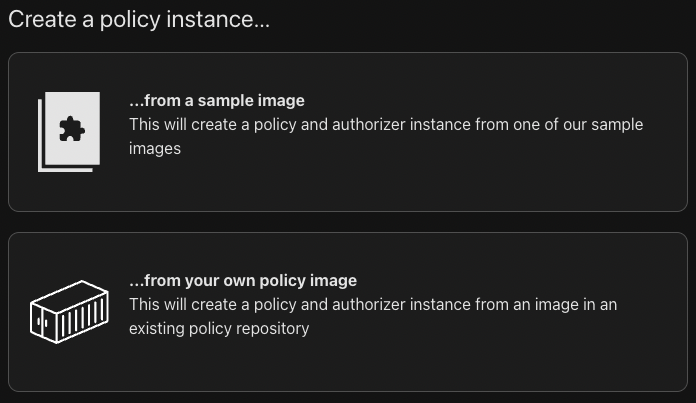
Next, you'll be prompted to select a policy registry:
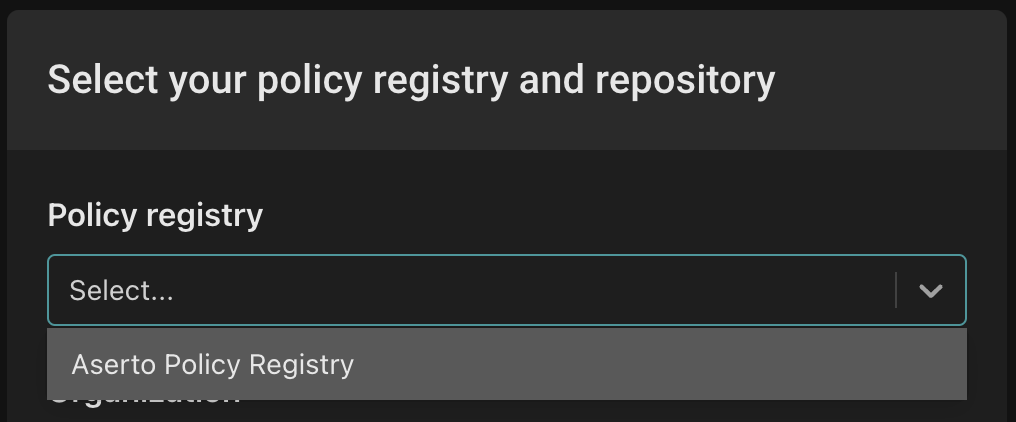
Select "Aserto Policy Registry" from the dropdown.
Next, from the "Select organization" dropdown select your personal (account) organization.
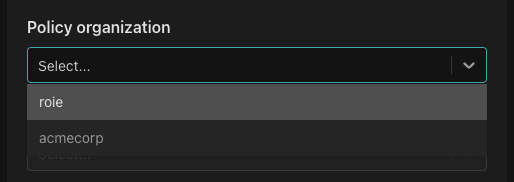
From the "Policy repository" dropdown, select "peoplefinder".

From the "Tag list" dropdown, select "latest".
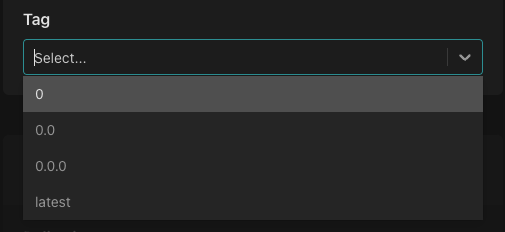
This sets up the policy instance to always pick up the latest version of the policy. While this is going to be very useful while we are developing the policy - we would probably choose to lock the policy instance to a specific tag in a production environment.
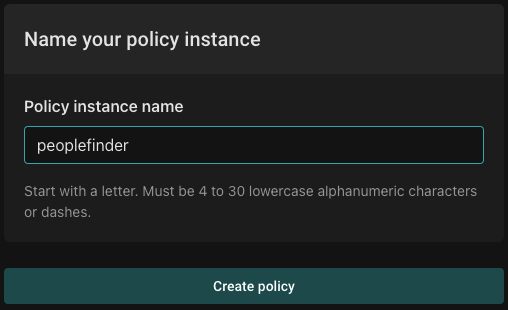
Finally, name your policy instance peoplefinder and click "Create policy".
Next Steps
Congratulations! You now have a clone of the policy-peoplefinder-rbac policy template in your GitHub account, and an associated policy instance. Later, you'll modify this policy repository to change the authorization policy of the PeopleFinder application. But first, let's set up demo users in your directory so that we can understand how user information is used in the authorization flow.