Support more roles
If you took the shortcut and created a policy instance from a template, all these steps are already taken for you. But feel free to review how the policy evolved.
So far, we have defined rules that support a single role - admin. We’ll now expand our policy to cover more roles by adding a data file to our policy bundle. In addition to policy Rego files, we can add JSON files that the policy can refer to in runtime.
We'll open the local copy of the policy we cloned before. Directly under the src folder, create a new file and name it data.json and add the following contents:
{
  "roles": {
    "viewer": {
      "description": "A viewer with no access to sensitive asset",
      "perms": {
        "asertodemo.GET.api.protected": {
          "allowed": false
        }
      }
    },
    "editor": {
      "description": "A editor with access to sensitive asset",
      "perms": {
        "asertodemo.GET.api.protected": {
          "allowed": true
        }
      }
    },
    "admin": {
      "description": "An admin user with access to sensitive asset",
      "perms": {
        "asertodemo.GET.api.protected": {
          "allowed": true
        }
      }
    }
  }
}
In order to reference the data file in our policy, we’ll update our policy file:
package asertodemo.GET.api.protected

import input.policy.path
import input.user.properties.roles as user_roles


default allowed = false

allowed {
    some index
    data.roles[user_roles[index]].perms[path].allowed
}
We have two import statements: one for referencing the policy path (asertodemo.GET.api.protected) and one to reference the user roles that are a part of the user object.
The Rego rule declared here will:
- Iterate over all the user roles (using the
some indexexpression and theuser_roles[index]expression) - For each of them, it’ll refer back to the
data.jsonfile and attempt to find the corresponding entry (e.g.,viewer,editor,adminunderroles - Once found, it’ll attempt to resolve the path
perms['asertodemo.GET.api.protected'].allowedfor that role and return the value. So, for example, the resolution for theviewerrole would bedata.json->roles->viewer->perms->asertodemo.GET.api.protected->allowed->false.
Update the .manifest file
To allow for the use of roles in the data.json file, update your .manifest file:
{
    "roots": ["asertodemo", "roles"]
}
Commit, tag and push the changes you made:
git add .
git commit -m "added data.json file"
git push
git tag v0.0.2
git push --tags
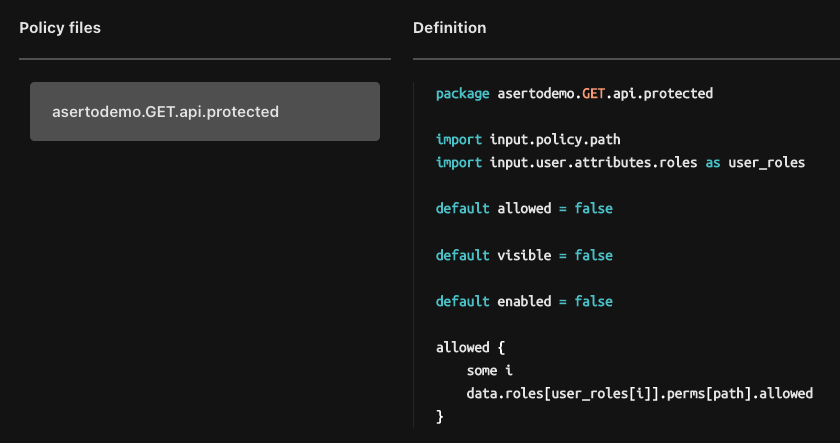
In the Aserto console, open the Policies tab, click on the aserto-react instance and open the Policy Browser. Check that the changes you’ve made are reflected:
Test the application
With the new changes to the policy, we can now test a user with the role of editor to make sure they can indeed access the protected resource. Log in using the email dianet@acmecorp.com (who has the editor role) using the password V@erySecre#t123!.
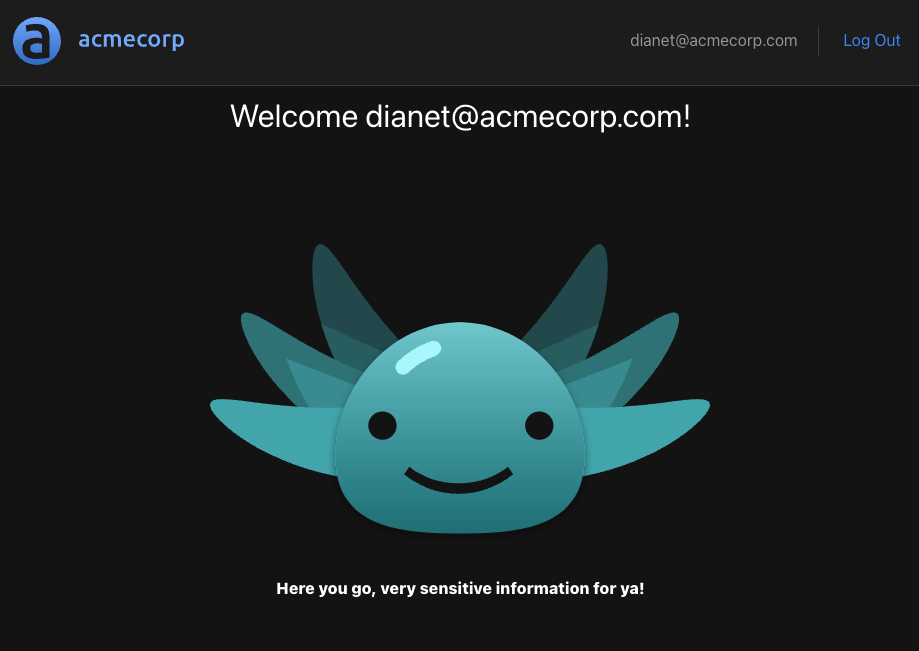
Success! As expected, this user can access the protected resource.
Checkpoint
So far, we created a simple React application and a simple Express.js application, using OICD as an identity provider. We then set up an Aserto Policy to limit user access to a protected resource using the identity context passed from the React Application. Finally, we saw how to make changes to the policy without requiring any changes to the application code.
In the next section, we’ll learn how to conditionally render UI components based on policy decisions.